Shrimp Pizza (3 Cheese!)

This shrimp pizza recipe is full of big flavor, starring buttery shrimp and 3 cheeses! It’s garlicky, creamy, and a total crowd pleaser.

Shrimp pizza

We’ve made just about every pizza recipe, from classic Pizza Margherita to fusions style taco pizza. But here’s a new-to-us pizza that instantly jumped to the top of our list: this 3 Cheese Shrimp Pizza! Shrimp on a pizza isn’t what might first jump to mind. But let me tell you: it’s a must try! The garlicky, buttery shrimp against creamy ricotta cheese is one of the best pizza topping combinations we’ve had in a while. It’s so satisfying, you’ll be hooked. It’s like shrimp alfredo on a pizza crust instead of noodles…which is just as good as it sounds.

How to make the best shrimp pizza (basic method)

Shrimp on pizza isn’t usually our first choice. But after eating an incredible seafood pizza at one of our favorite pizza joints in town, we knew we had to try it! Our version isn’t much like theirs (so you’ll have to go try it!). But what it does have in common: juicy, buttery garlicky shrimp! Here’s what to do to make the best shrimp pizza recipe:

  • Saute the shrimp with garlic and butter. Get that shrimp perfectly sauteed before you use it as a pizza topping! Use the instructions below or our sauteed shrimp recipe.
  • Spread seasoned ricotta on the dough. There’s no need to make an alfredo sauce: just spread lightly seasoned ricotta straight onto the dough.
  • Top with mozzarella and Parmesan and bake! All you need is 5 to 7 minutes in a super hot oven. It’s best if you have a pizza stone! Speaking of…
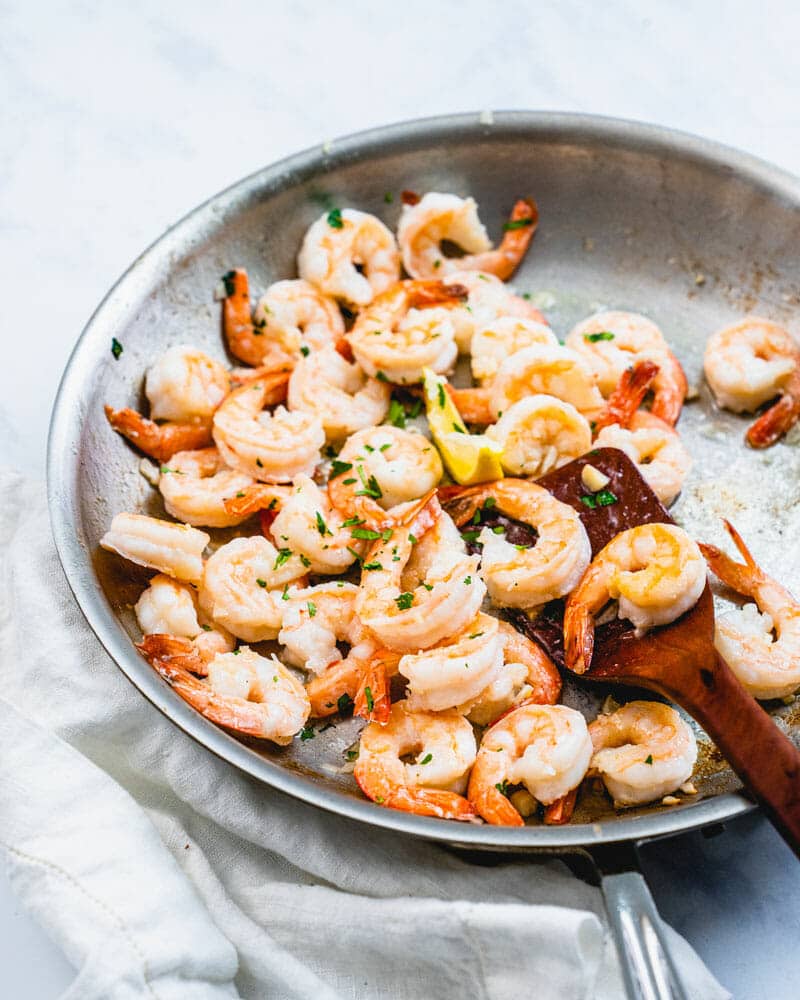
Saute pan with shrimp

Use a pizza stone if you can!

This shrimp pizza is best if you bake it on a pizza stone. Why? A pizza stone makes the absolute perfect crust texture! Here’s what to know:

  • Pizza stone: A pizza stone is what makes Italian pizza crust crispy on the outside and soft on the inside. Here’s the best pizza stone we’ve found, plus care tips.
  • Pizza peel: Use a pizza peel to transfer the pizza onto the hot pizza stone in the oven. We recommend this Standard pizza peel or this Conveyor pizza peel.

Don’t have a pizza stone? That’s ok too! You can make your pizza right on a baking sheet.

Homemade pizza dough is best, or use these shortcuts!

In our professional opinion: it’s always worth it to make homemade pizza dough! The result is far, far better than what you can buy at the store. But of course: there’s not always time for that! We get it. Here are a few options for the dough for this shrimp pizza recipe:

  • Master pizza dough! This Best Pizza Dough has the absolute perfect flavor and texture. It is sublime. This one takes 15 minutes to make and 45 minutes to proof before baking.
  • Thin crust. Try this Thin Crust Pizza Dough! It’s easy to roll out into a thinner, crispier crust.
  • Pan pizza. Or, make it as a pan pizza in a cast iron skillet! This option takes a little longer but it’s easier to pull off.
  • Naan or flatbread pizza. Want to shortcut the process altogether? Try Naan Pizza or Flatbread Pizza.
  • Store-bought pizza dough. We do it in a pinch, too! Find a good quality brand (experiment to find your favorite).
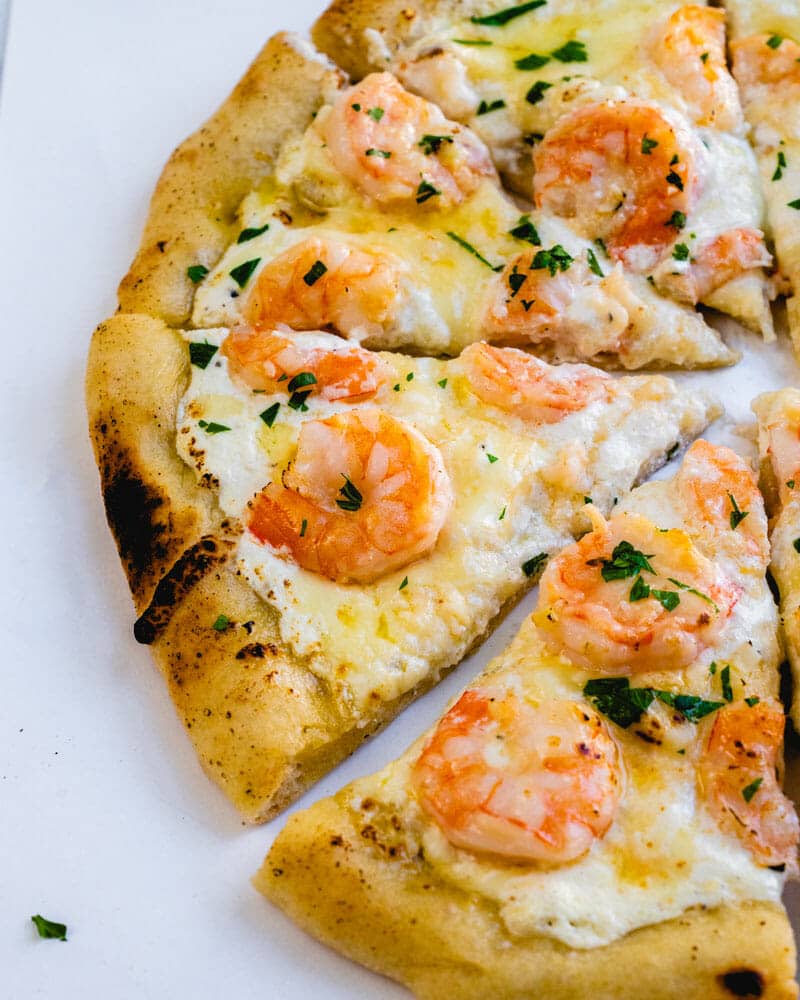
Shrimp pizza

The shrimp to buy for shrimp pizza

There are lots of options at the store when it comes to shrimp! It doesn’t matter if you accidentally grab the wrong one for this recipe: pizza is very forgiving! But here are a few things to look for:

  • Find medium shrimp. Medium is nice for a pizza topping: it’s also labeled as 41 to 50 count. You could also use small shrimp.
  • Use peeled shrimp. Often we recommend tail on, but you don’t want that for pizza! If you buy the wrong kind, just remove the shell before cooking.
  • Fresh or frozen. Both are essentially the same freshness because most shrimp are immediately flash frozen. Just make sure to thaw the shrimp in advance.
  • Wild caught. Look for wild caught: it’s the most sustainable!
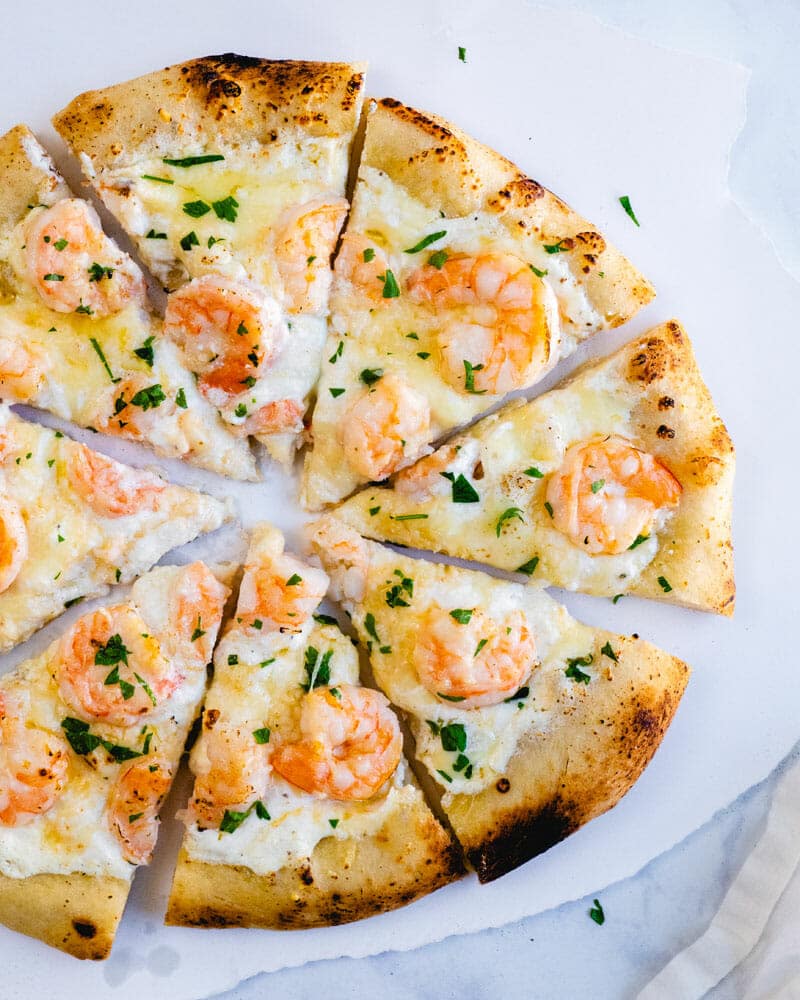
Shrimp pizza recipe

What to serve with shrimp pizza

This shrimp pizza recipe is a perfect meal: it’s gooey, garlicky, cheesy and very filling! We like pairing it with a green salad or other veggie side to amp the meal’s veggie quotient. Here are some ideas:

This shrimp pizza recipe is…

Pescatarian.

Print
Shrimp pizza

Shrimp Pizza (3 Cheese!)


1 Star2 Stars3 Stars4 Stars5 Stars (5 votes, average: 5.00 out of 5)

  • Author: Sonja Overhiser
  • Prep Time: 1 hour
  • Cook Time: 5 minutes
  • Total Time: 1 hour 5 minutes
  • Yield: 8 slices

Description

This shrimp pizza recipe is full of big flavor, starring buttery shrimp and 3 cheeses! It’s garlicky, creamy, and a total crowd pleaser.


Ingredients

  • 1 ball Best Pizza Dough (or Thin Crust Dough)
  • 1/2 pound medium shrimp, deveined and peeled
  • 1/4 teaspoon plus 1/8 teaspoon kosher salt, divided
  • 2 garlic cloves
  • 2 tablespoons butter
  • 1/2 cup whole milk ricotta cheese
  • Fresh ground black pepper
  • 1/2 cup shredded mozzarella cheese
  • 1/4 cup shredded Parmesan cheese
  • Chopped parsley for garnish

Instructions

  1. Make the pizza dough: Follow the Best Pizza Dough or Thin Crust Dough recipe to prepare the dough. (This takes about 15 minutes to make and 45 minutes to rest.)
  2. Place a pizza stone in the oven and preheat to 500 degrees Fahrenheit. (If you don’t have a pizza stone, you can make the pizza on a baking sheet.)
  3. Prepare the toppings: If frozen, thaw the shrimp in advance. Mince the garlic. Pat the shrimp dry. In a medium bowl, mix the shrimp with the minced garlic and 1/4 teaspoon kosher salt. In a medium skillet, heat the butter on medium high heat. Cook the shrimp for 1 to 2 minutes per side until opaque and cooked through, turning them with tongs. When done, transfer the shrimp to a bowl.
  4. In a small bowl, mix the ricotta with the 1/8 teaspoon kosher salt and fresh ground pepper.
  5. Bake the pizza: When the oven is ready, dust a pizza peel with cornmeal or semolina flour. (If you don’t have a pizza peel, you can use a rimless baking sheet or the back of a rimmed baking sheet. But a pizza peel is well worth the investment!) Stretch the dough into a circle; see How to Stretch Pizza Dough for instructions. Then gently place the dough onto the pizza peel.
  6. Spread the seasoned ricotta onto the dough then 1/4 cup of the mozzarella cheese. Add the shrimp, reserving the butter at the bottom of the bowl. Top with the remaining 1/4 cup mozzarella cheese and Parmesan cheese. Add a sprinkle of the reserved butter (use about half). 
  7. Use the pizza peel to carefully transfer the pizza onto the preheated pizza stone. Bake the pizza until the cheese and crust are nicely browned, about 5 to 7 minutes in the oven (or 1 minute in a pizza oven).
  8. Top with the chopped parsley. Slice into pieces and serve immediately (cutting it with a knife is easiest to cut through the shrimp). 
  • Category: Main Dish
  • Method: Baked
  • Cuisine: Pizza

Keywords: Shrimp pizza, Shrimp pizza recipe

More great pizza recipes

We live for pizza over here! If you do too, here are a few more of our top pizza recipes to try:

A Couple Cooks - Healthy, Whole Food, & Vegetarian Recipes


from A Couple Cooks https://ift.tt/3prGlcq

Oatmeal Bars

Here’s an oatmeal bars recipe that’s beyond easy! These healthy breakfast bars are irresistibly tasty and great for busy mornings and snacks.

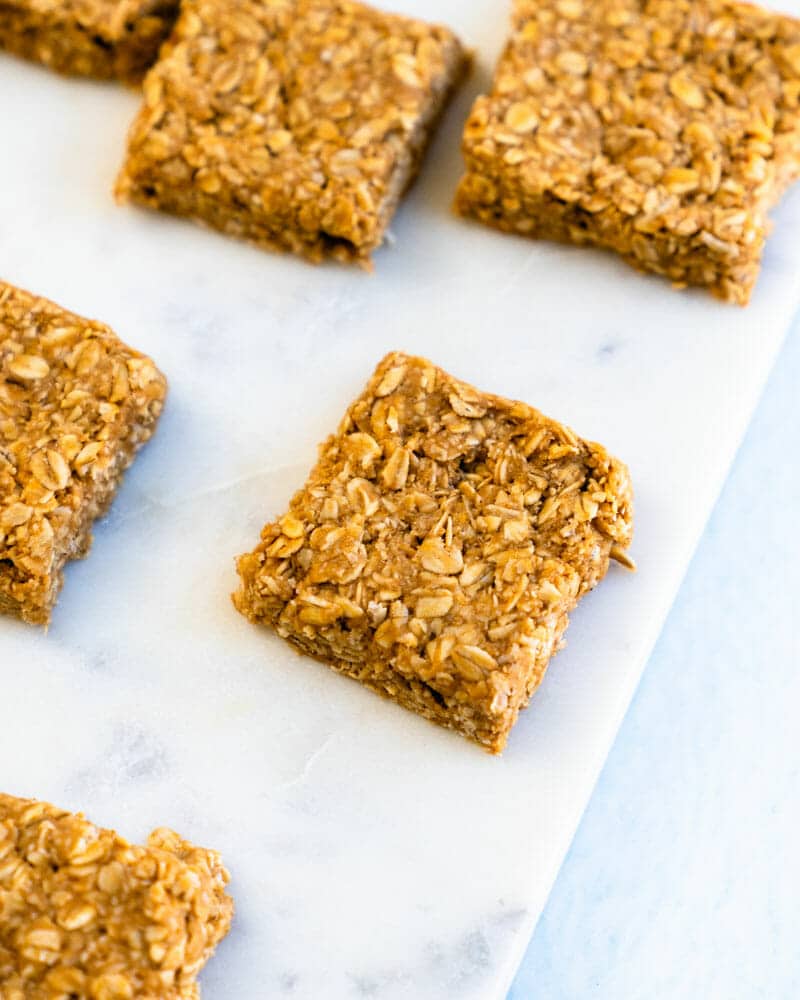
Oatmeal bars

Here’s a recipe that’s perfect for breakfast and all those in between moments, too. This ridiculously easy no bake Oatmeal Bars recipe! These were big winners in our house and quickly solidified themselves into the weekly repertoire. These breakfast bars star peanut butter, honey, and Old Fashioned oats, and they’re a healthy breakfast or snack you can feel good feeding yourself or your family. In fact, I had to remind myself I didn’t need to sneak these like a treat.

Ingredients for this oatmeal bars recipe

These oatmeal bars are almost 3 ingredients, but they’ve got a few added seasonings that take the ingredient list to a whopping 5 ingredients. Here’s what you’ll need to make them:

  • Old Fashioned rolled oats: That’s the standard oatmeal you’re used to, not steel cut oats! Because it has the texture of rice, it’s not a substitute here.
  • Peanut butter: Use creamy, no sugar added peanut butter. If all you have is sweetened, leave out a bit of the honey. Use sunflower butter as a nut allergy substitute.
  • Honey: Honey adds a warm, golden flavor and a nice sticky texture. See our notes on vegan substitutes below.
  • Cinnamon: Cinnamon adds just the right hint of complexity.
  • Salt: Salt rounds it out for the perfect flavor. Make sure to use kosher salt, since it flavors foods more gently than table salt.
Oatmeal bars recipe

How to make no bake bars: a few tips

Over here we love a good no bake recipe: and not just because you don’t have to wait for the bake time! No bake recipes are as close to no fail as you can get. Here are a few tips to note about the process of making this oatmeal bars recipe:

  • Use a small glass to get them perfectly flat. You’ll mix the ingredients together then throw them into a square pan with parchment underneath. Pat them as flat as you can, then roll over the top with a small glass. It gets the most uniform texture.
  • Freeze first! Freeze the pan for 15 minutes, which sets the bars. They will still be a little soft at this point.
  • Cut into bars. Then cut them into bar shapes. You can eat immediately, but we prefer waiting for another 1 hour of refrigeration for them to set completely.
Oatmeal breakfast bars

Make large or small oatmeal bars (we prefer small)

One of the things we like about this recipe is cutting the bars smaller: to get more of them! Here are a few notes on the pros of smaller oatmeal breakfast bars:

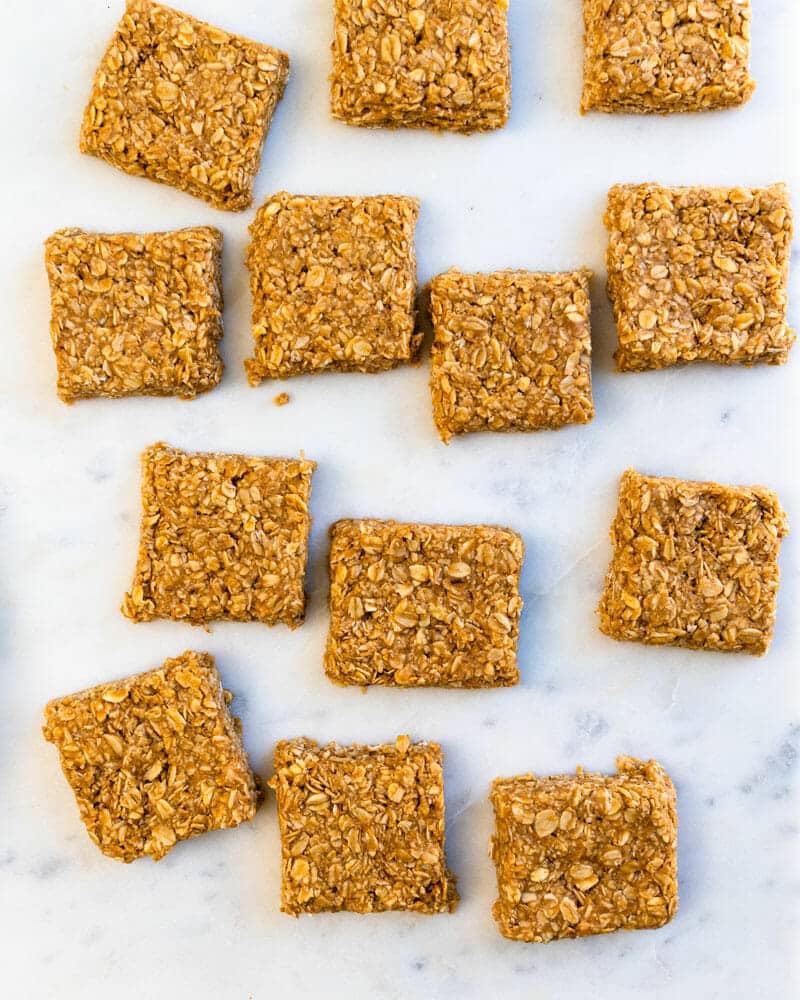
  • Make 32 rectangle-shaped bars for more servings & less calories and sugar. The sugar in a small bar is only 1 teaspoon, and it’s still a super satisfying snack or treat. We prefer this size for most versatility (though the photos show the squares).
  • Make 16 square bars for breakfasts. If you’re eating them as breakfast bars, you’ll probably want a larger bar to be more filling. Of course, you could just eat 2 small bars!

Vegan oatmeal bars variation

Want to make these into vegan oatmeal bars? We typically use maple syrup as our liquid sweetener of choice, which is vegan. But in this recipe, the flavor and texture of honey is integral to the structure of the oatmeal breakfast bars. Here’s our preferred vegan sweetener:

  • For vegan oatmeal bars, try agave syrup! It’s a little thicker than maple syrup, so it will work a little more similarly to honey. You can also try using a little less (see the notes below).
  • You can also try maple if it’s your only sweetener on hand. Just note that the bars will do better right from the refrigerator. Use a little less than the honey amount as well.
Oatmeal bars

When to eat oatmeal bars…breakfast, snack or anytime!

Yes, we love these oatmeal bars because they are perfect for those times in between meals when you’re hungry and don’t want to grab and unhealthy option. Here are a few ideas we’d recommend:

  • Breakfast: Grab them as you go out the door, or crumble over Greek yogurt
  • Snack: Grab one from the fridge anytime
  • Sweet treat: This is all we need to feel like a satisfying treat without a splurge. They’re especially good for kids (our son loves them!)

Oatmeal nutrition info

What’s so great about eating oats for snacks and in oatmeal breakfast bars? Well, these whole grains have a lot of good going on. Here’s some of the benefits you get from oats (source):

  • High in plant based protein. 1 cup of raw oats has 11 grams protein, or ~20% of your daily need!
  • High in fiber. 1 cup of raw oats has 8 grams of fiber, ~30% of your daily need.
  • Very filling: Oats may reduce appetite and help you eat less calories overall.
Oatmeal breakfast bars

More oatmeal recipes

It might sound silly as a “foodie” and cookbook author, but one of my favorite foods ever is oatmeal! I eat it every day and it’s always satisfying and filling. Here are our top oatmeal recipes:

This oatmeal bars recipe is…

Vegetarian and gluten free. For vegan, plant-based and dairy-free, see the notes in the recipe.

Print
Oatmeal bars

Oatmeal Bars (Easy & No Bake!)


1 Star2 Stars3 Stars4 Stars5 Stars (5 votes, average: 5.00 out of 5)

  • Author: Sonja Overhiser
  • Prep Time: 10 minutes
  • Cook Time: 0 minutes
  • Total Time: 10 minutes
  • Yield: 16 large or 32 small
  • Diet: Vegetarian

Description

Here’s an oatmeal bars recipe that’s beyond easy! These healthy breakfast bars are irresistibly tasty and great for busy mornings and snacks.


Ingredients

  • 1 cup + 2 tablespoons creamy peanut butter (no sugar added, or sunflower butter for nut free)
  • 1/2 cup + 2 tablespoons honey (or 1/2 cup agave syrup* for vegan)
  • 4 cups Old Fashioned rolled oats
  • 1/2 teaspoon kosher salt
  • 1/2 teaspoon cinnamon

Instructions

  1. Mix together all the ingredients in a bowl. Add a sheet of parchment paper to a 9 x 9 pan. Place the ingredients in the pan and press it into an even layer. Use a small glass to roll over the top to get it smooth. 
  2. Freeze the bars for 15 minutes. Remove the pan from the freezer and use the parchment to lift it out of the pan. Cut into 16 squares or 32 rectangles. Store refrigerated for up to 2 weeks. You can eat right away, or refrigerate for about 1 hour for a more solid texture.  

Notes

*Maple syrup is generally our sweetener of choice, but the flavor and texture of honey really make these bars. Since maple syrup is not as sticky as honey, for vegan substitute we recommend agave syrup. 

  • Category: Snack
  • Method: No Bake
  • Cuisine: Breakfast

Keywords: Oatmeal bars, oatmeal bar recipe, oatmeal breakfast bars

A Couple Cooks - Healthy, Whole Food, & Vegetarian Recipes


from A Couple Cooks https://ift.tt/3pk2o4E

Honey Garlic Shrimp

This honey garlic shrimp is so irresistible, you’ll want to eat it every night! A sweet savory glaze covers succulent shrimp, and it’s done in 10 minutes.

Honey Garlic Shrimp

Every now and then a recipe comes along that knocks our socks off. And so it was with this Honey Garlic Shrimp recipe! There’s nothing like the sweet savory combination of honey garlic glaze and juicy shrimp. The best part? It takes 10 minutes to make. This one is hits all the comforting, satisfying dinner notes with a lightning fast prep speed. It’s hard to find those recipes with that elusive trifecta of healthy, easy and delicious: and this one has it in spades.

The secrets behind honey garlic shrimp…in 10 minutes!

There’s no marinating time needed with this honey garlic shrimp. It’s the ultimate fast and easy dinner idea…in just 10 minutes! One note: make sure to thaw the shrimp if you’re using frozen; this isn’t included in the timing. Here are a few of the secrets to this kitchen magic trick (or jump to the recipe below):

  • Mix the shrimp with minced garlic, onion powder & salt. This allows maximum coverage of the seasoning on the shrimp first.
  • Mix together a quick sauce. Honey, soy sauce, and vinegar is all you need and it’s absolute perfection!
  • Sauté 1 to 2 minutes per side. To learn about the perfect sear, to Perfect Sautéed Shrimp.
  • Turn off the heat and add the sauce! Removing the heat is important so the sauce doesn’t evaporate when it hits the hot pan.
Honey garlic shrimp

The best shrimp to buy

When you’re shopping for shrimp, there are so many options at the store these days. If you’re making this honey garlic shrimp, here’s what we’d recommend:

  • Find medium shrimp (or large). Medium is nice because you get more bites! But either work. Medium is also labeled as 41 to 50 count, and Large as 31 to 40 count (which indicates how many shrimp there are per pound).
  • Use tail on or peeled. For this recipe we like tail on because it looks beautiful. But you do have to remove the tails with your hands as you eat them! So peeled is great too.
  • Fresh or frozen. Both are essentially the same freshness because most shrimp are immediately flash frozen. Just make sure to thaw the shrimp in advance.
  • Wild caught. Look for wild caught: it’s the most sustainable!
Honey garlic shrimp

How to thaw shrimp

What’s the best way to thaw shrimp? The easiest way is the night before! But if you’re like us and rarely think ahead: there’s a method too. Here’s the best way to thaw shrimp for this honey garlic shrimp recipe:

  • Day before: Place the frozen shrimp in the refrigerator overnight.
  • Day of: Place the frozen shrimp in a large bowl with very cold water. Stir the bowl every 5 minutes to break up clumps of shrimp that freeze together. The shrimp should defrost in about 15 minutes. Make sure to pat it dry before using!
Honey garlic shrimp

Ways to serve honey garlic shrimp

All you need are a side dish or two to make honey garlic shrimp into a healthy dinner that everyone will love. Our favorite picks? Rice and broccoli. Every time we make it, everyone around the table raves. Even our 4 year old inhales it! This is one of those recipes I could eat at least 6 out of 7 days of the week and be happy. Here are a few side dish ideas:

Honey garlic shrimp

This honey garlic shrimp recipe is…

Pescatarian, gluten-free and dairy free (with olive oil).

Print
Honey garlic shrimp

Honey Garlic Shrimp (in 10 Minutes!)


1 Star2 Stars3 Stars4 Stars5 Stars (5 votes, average: 5.00 out of 5)

  • Author: Sonja Overhiser
  • Prep Time: 6 minutes
  • Cook Time: 4 minutes
  • Total Time: 10 minutes
  • Yield: 4
  • Diet: Gluten Free

Description

This honey garlic shrimp is so irresistible, you’ll want to eat it every night! A sweet savory glaze covers succulent shrimp, and it’s done in 10 minutes.


Ingredients

  • 1 pound medium or large shrimp, deveined (tail on or peeled)
  • 3 garlic cloves
  • 1/2 teaspoon onion powder
  • Heaping 1/4 teaspoon kosher salt
  • 1/4 cup honey
  • 3 tablespoons soy sauce
  • 1 1/2 tablespoons rice vinegar
  • 2 teaspoon cornstarch
  • 3 tablespoons sesame oil

Instructions

  1. Thaw the shrimp, if using frozen.
  2. Mince the garlic. Pat the shrimp dry. Stir it together with the minced garlic, onion powder and kosher salt.
  3. Mix the honey, soy sauce, rice vinegar, and cornstarch in a small bowl, mixing until mostly smooth (a few small lumps are ok).
  4. In a large skillet, heat the sesame oil on medium high heat. Cook the shrimp for 1 to 2 minutes per side until opaque and cooked through, turning them with tongs.
  5. Turn off the heat and remove the shrimp. Add the glaze to the pan and stir until thickened, scraping up the browned bits from the bottom of the pan. Once thickened, stir the shrimp back into the sauce and serve.
  • Category: Main Dish
  • Method: Stovetop
  • Cuisine: Seafood

Keywords: Honey garlic shrimp

More shrimp recipes

There are so many great ways to eat this tasty seafood! Shrimp features in many of our easy dinner ideas. Here are some of our favorite healthy shrimp recipes:

Shrimp with broccoli

A Couple Cooks - Healthy, Whole Food, & Vegetarian Recipes


from A Couple Cooks https://ift.tt/34x8Opa

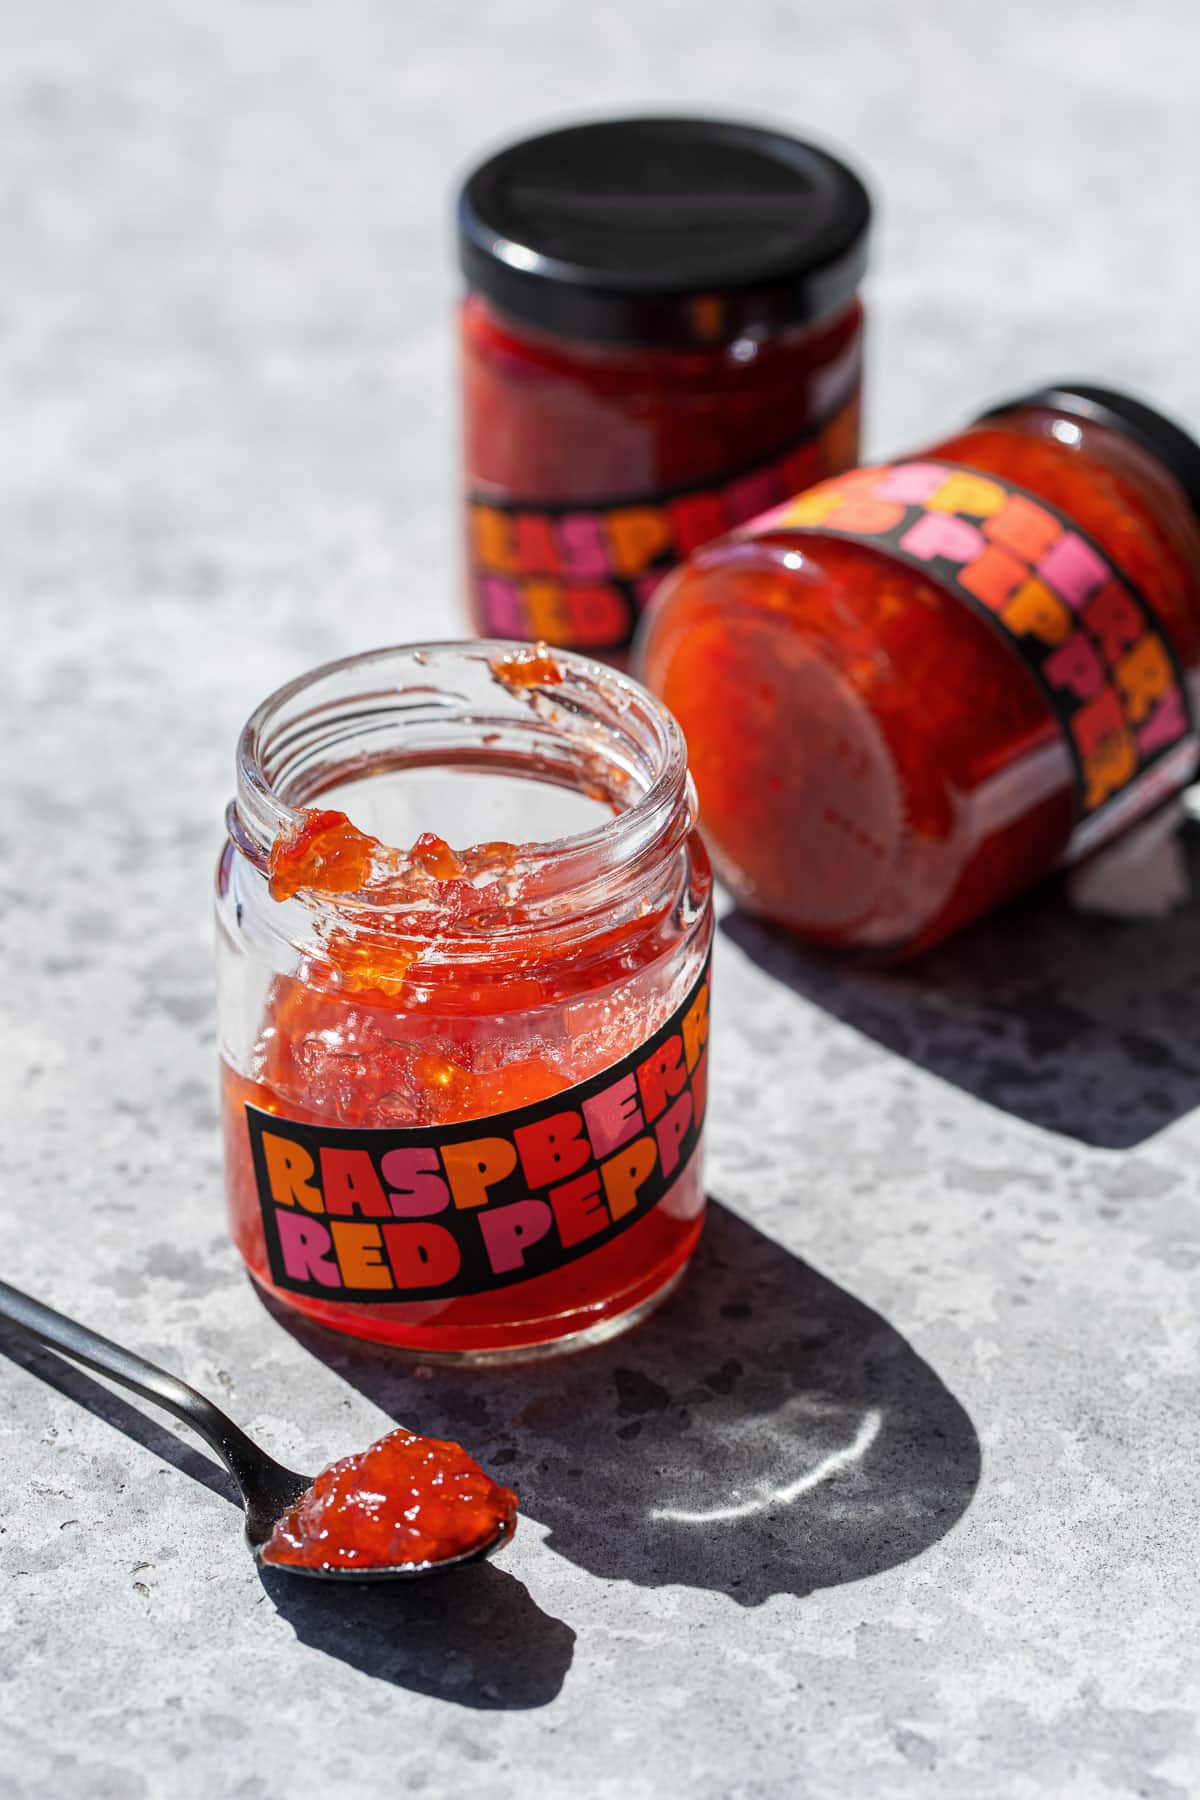
Raspberry Red Pepper Jelly

Sweet and spicy and fruity: that’s what this jelly is made of! With just the right amount of spice, balanced with sweetness and fruitiness ...