Avocado Tuna Salad

This fresh and healthy avocado tuna salad swaps the classic mayo for nutrient-rich avocado! It will become your new go-to after first bite.

Avocado tuna salad

Here’s a healthy lunch or dinner idea to spice up your routine: avocado tuna salad! This spin swaps out the classic mayonnaise for nutrient-rich avocado. The flavor is so fresh and delicious, you may give up the mayo version altogether. Alex and I might like this even better than classic tuna salad (except our recipe is really the very best so it’s a hard call). It takes only a handful of ingredients and 10 minutes to put together. It’s easy to forget about tuna salad, but this one is now solidly part of our healthy meal repertoire!

Ingredients for avocado tuna salad

The best part about tuna salad? You can make it using mostly pantry ingredients. Of course, you’ll need a ripe avocado. But other than the celery and onion, it’s totally pantry. Here’s what you’ll need to make it:

  • 1 can tuna (water packed or oil packed work)
  • 1/2 ripe avocado
  • Celery
  • Red onion
  • Dill pickles are the key to getting that classic tangy flavor!
  • Lemon juice for a little pop
  • Dijon mustard adds just the right savory note

All you have to do is chop the veggies, then mash the ingredients together with a fork. This might just win the easiest meal ever award!

Avocado tuna salad

How to safely pit & chop an avocado

The only technique to avocado tuna salad recipe is making sure to safely pit your avocado! Many people have issues with knife safety when cutting this green fruit. Here’s the best way to cut an avocado:

  1. Cut lengthwise around the avocado. Twist the two halves to separate them.
  2. Place a towel in your hand and put the avocado on top. With a gentle but quick motion, tap the knife into the avocado pit.
  3. Don’t remove the avocado pit with your hand! Instead, pull the cutting board close to your body, then place the pit against the far edge of the cutting board and pull back to release it from the knife. (Watch the video below for this part!)
  4. Use a large spoon to scoop out the avocado from the peel. Place the avocado with the cut side down, then cut it into slices and then rough pieces.

Ways to serve avocado tuna salad: the sandwich & beyond!

Of course, the first way you’ll think of to serve this healthy tuna salad is the classic sandwich! There are lots of other creative ways to serve it: especially gluten-free and Paleo options. Here are some ideas:

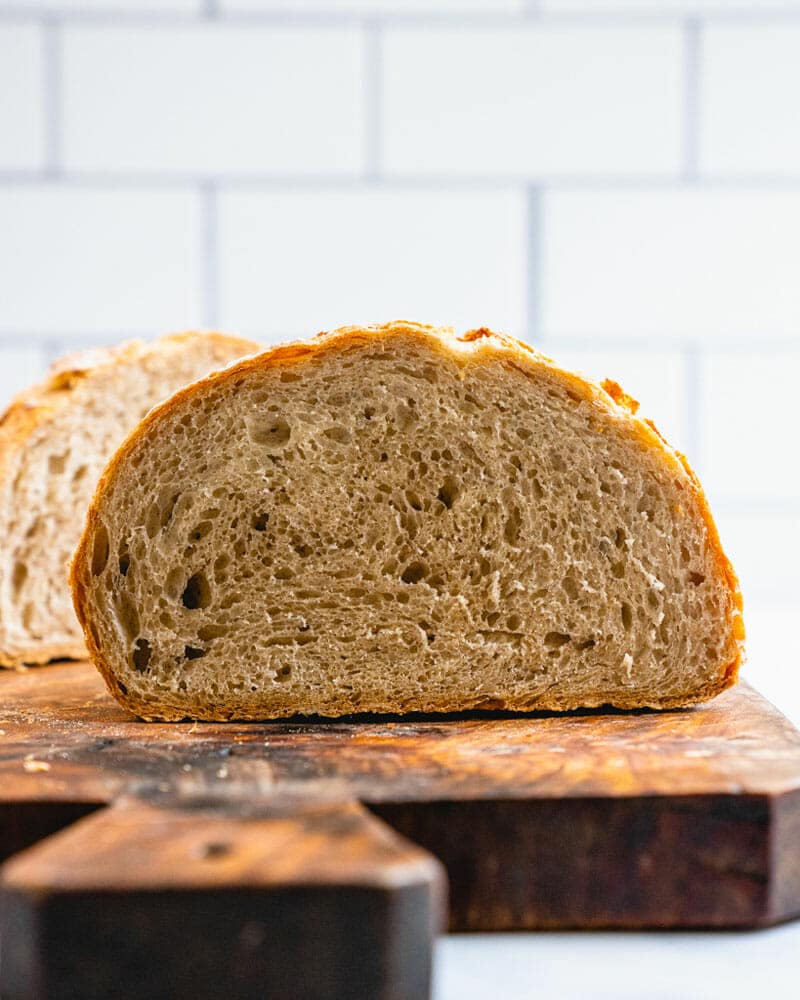
  • Sandwich: There’s nothing wrong with the classic! Try our Artisan Bread (shown here), No Knead Bread, Whole Wheat Bread, or Best Sourdough.
  • Lettuce wraps: Try tuna salad wrapped in crisp lettuce leaves!
  • Main dish salad: Or, place the avocado tuna salad on mixed greens and add some sliced tomatoes and hard boiled eggs. Instant meal!
  • Crostini or crackers: Spread over baguette slices or crackers. For gluten free or Paleo, try our homemade almond crackers.
  • In an avocado: What to do with the other half of your avocado? Use it for serving your tuna salad!

Avocado nutrition

Alex and I aren’t against mayo over here. Our classic tuna salad has a touch of mayo along with some Greek yogurt, and so does our tuna salad with egg. But it’s fun to have a variation that maximizes the nutrition of this healthy fruit. Here are some facts about avocado nutrition…as if you needed more inspiration to eat it! (Source)

  • Rich in fiber. Avocados have lots of fiber; one serving has 7 grams or about 25% your daily value.
  • Full of heart healthy “good” fats. Avocados are full of monounsaturated oleic acid, a heart-healthy fatty acid.
  • Loaded with vitamins and nutrients. They’re also filled with a long list of vitamins.

This avocado tuna salad recipe is…

Pescatarian, gluten-free and dairy-free.

Print
Avocado tuna salad

Avocado Tuna Salad


1 Star2 Stars3 Stars4 Stars5 Stars (5 votes, average: 5.00 out of 5)

  • Author: Sonja Overhiser
  • Prep Time: 10 minutes
  • Cook Time: 0 minutes
  • Total Time: 10 minutes
  • Yield: 2

Description

This fresh and healthy avocado tuna salad swaps the classic mayo for nutrient-rich avocado! It will become your new go-to after first bite.


Ingredients

  • 1 5-ounce can white meat tuna
  • 1/2 celery rib (1/4 cup finely chopped)
  • 2 tablespoons finely chopped red onion
  • 1/4 cup chopped dill pickles (2 pickles)
  • 1/2 ripe avocado
  • 2 teaspoons lemon juice
  • 2 teaspoons Dijon mustard
  • 1/4 teaspoon kosher salt
  • Fresh ground black pepper, to taste

Instructions

  1. Drain the tuna. Place it in a bowl and use a fork to break apart any large clumps.
  2. Roughly chop the avocado. Finely chop the celery, red onion, and dill pickles.
  3. Mix together the tuna and vegetables with the remaining ingredients. Eat immediately: the avocado will start to brown after exposure to air.

  • Category: Lunch
  • Method: Stirred
  • Cuisine: American

Keywords: Avocado Tuna Salad

More healthy lunch ideas

Tuna salad is perfect for lunch! Here are a few more healthy lunch ideas you might enjoy:

  • Kale Quinoa Salad This colorful kale quinoa salad is full of healthy ingredients and tastes incredible! Meal prep this easy plant-based lunch idea for meals all week.
  • Avocado Toast The classic! It’s so easy to make and delicious every time.
  • Simple Chickpea Salad A 5-minute fast lunch idea! Easy to throw together: the perfect healthy plant based desk lunch or quick fix dinner.
  • Avocado Grilled Cheese Sandwich This avocado grilled cheese is a simple way to step up the standard! In just 10 minutes, it makes an easy meal with soup or salad.

A Couple Cooks - Healthy, Whole Food, & Vegetarian Recipes


from A Couple Cooks https://ift.tt/2UmVFdu

Easy No Knead Bread

This homemade no knead bread will wow everyone! It’s so easy to make and has the best flavor, crispy crust, and chewy interior. Great for beginners!

No knead bread

Want to bake easy homemade bread, but not sure where to start? Try this best no knead bread recipe! Your friends and family will sing your praises. Neighbors following the wafting smell will come flocking. You’ll get multiple marriage proposals. Yes, this bread is life changing! It’s got the best flavor: lightly tangy and robust. The exterior is the perfect crisp crust, and the interior has the perfect moist chewiness. Even better: it’s our easiest bread recipe yet. If you’re a bread baking beginner, this is the place to start.

Want an even quicker loaf bread? Try our Easy Homemade Bread or Easy Whole Wheat Bread, which are made with a loaf pan and take just 2.5 hours.

How to make no knead bread: an overview!

Here’s the basic outline of what you’re getting yourself into with no knead bread. The process takes 5 minutes the night before, and then about 2 hours the day of. Compared to our sourdough bread and even our artisan bread, it’s the quickest and easiest bread recipe we have. (But if you want to make a bread recipe in one day, the artisan bread is your best option.) Here’s an outline of what you’ll have to do:

Mix, Rest overnight 5 minutes active, 12 to 18 hours hands off
Shape & Proof 5 minutes active, 1 hour hands off
Bake 40 minutes, hands off
Cool 45 minutes, hands off
Easy no knead bread

Equipment list for no knead bread

Making no knead bread requires a few tools. It’s easiest to make with a Dutch oven, but you can also use a pizza stone. There are several optional tools as well that make things easier, but are not required. Here’s what you need!

Required tools for this artisan bread recipe

  1. Large dutch oven OR pizza stone with steam (see below)
  2. Plastic bag for proofing (reuse it every time you make bread) or plastic wrap
  3. Parchment paper
  4. Lame OR sharp knife for scoring the bread
  5. Kitchen scale for measuring (optional)

The flours you’ll use

This best easy no knead bread recipe uses a mix of just two flours you’ll probably already have in your pantry. Unlike some of our other bread recipes, there’s no need for bread flour. Here’s what you’ll need:

  • All-purpose flour (for texture
  • Whole wheat flour (for flavor)
How to bake bread

Think ahead! No knead bread rests overnight

This bread requires thinking ahead 1 day ahead. You’ll need to rest the bread dough overnight. Why? Well, the answer has to do with proofing.

  • No knead bread requires only 1 proof. Proofing is simply letting the bread stand at room temperature while the leavener (yeast or sourdough) does its magic to help the bread rise. Usually a proof is about 45 minutes to 1 hour. Both our sourdough bread and artisan bread require folding and “proofing” the bread multiple times. So doing only 1 proof is almost unheard of!
  • The tradeoff? Resting overnight. Proofing is hands off, but it does require a lot of time to fold and proof multiple times. The tradeoff: you’ll need to rest the bread at room temperature overnight. To us, that’s a very worthy tradeoff! You save hours of bread making time the day of baking.

How to shape the boule

The main part of making no knead bread that requires technique is shaping the dough. You’ll shape it into a ball, called a boule. It’s easiest to learn how to shape the dough by watching. Here’s a video instruction for shaping the boule.

Homemade no knead bread

How to score the bread

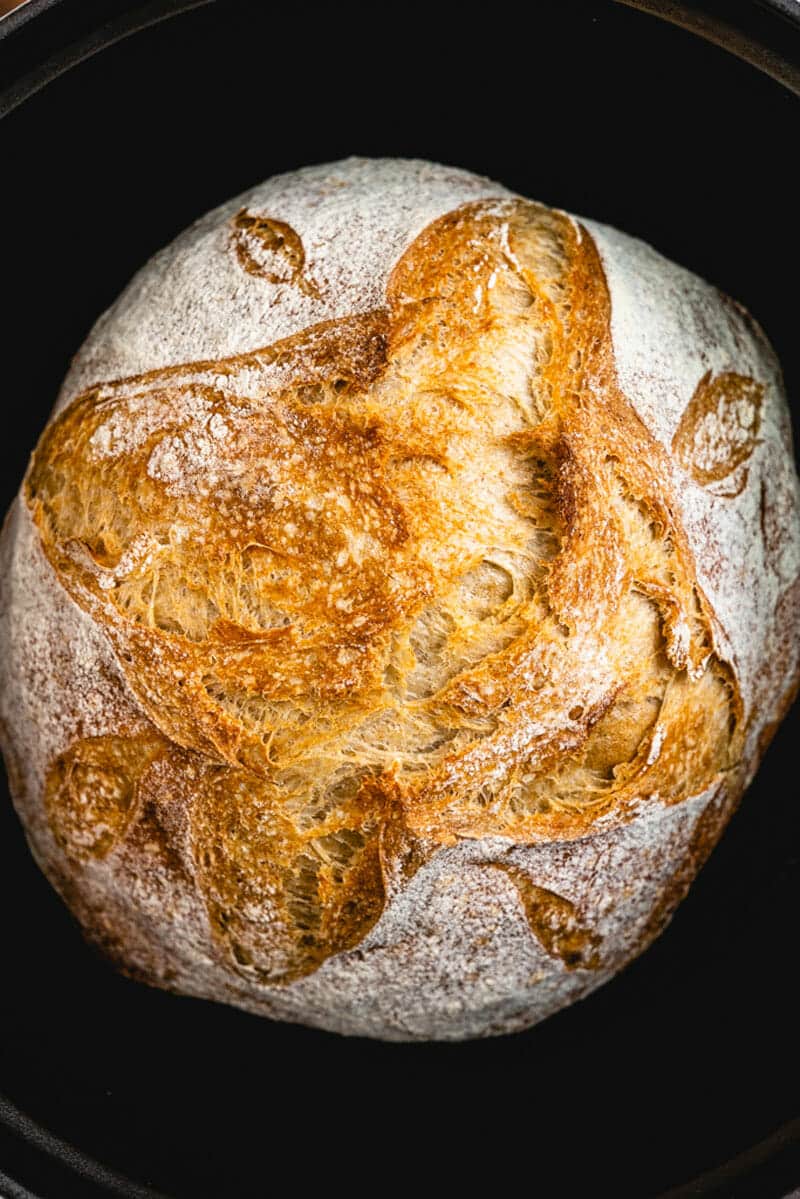
See those beautiful lines on the top of the artisan bread? Those are called score lines. Scoring is slashing the top of the dough with a sharp knife to allow it to expand when baking. You can also make a decorative sort of pattern on the bread. Here are a few tips for scoring no knead bread:

  • Use your sharpest knife, or a lame. You’ll want the knife to be ultra sharp. We purchased a lame for this, since we make lots of bread recipes.
  • Make shallow cuts into the top of the dough. You want to cut just the surface — if it’s too deep it collapses, if it’s too shallow it bursts. Alex did this cross pattern for the bread scoring in this photo!

What’s a Dutch oven? Do I need it?

This easy no knead bread is best when baked in a Dutch oven. Why? Baking bread in a covered Dutch oven holds in the steam that the bread releases as it cooks. This makes an extra crispy crust & perfect rise. If you don’t have a Dutch oven, you can use a pizza stone (see below).

What is a Dutch oven? It’s a heavy cooking pot with a lid used for braising meat and making soups and stews. You can use it on the stovetop or in the oven. All Dutch ovens are made of cast iron; some have an enamel coating that makes them easier to clean.

Best no knead bread

Or, use a pizza stone to bake no knead bread!

You also can use a pizza stone to bake this no knead bread! The best way is with a Dutch oven, but if you don’t have one you can use a pizza stone. You’ll also have to make extra steam in your oven. To do that, you’ll use a baking sheet and pour boiling water onto it right when you add the bread. This creates steam, which makes that crispy crust.

Storing no knead bread

Because this no knead bread has no preservatives, so the storage recommendations are different from a bread you might buy from the store. Here’s what to do:

  • Room temperature storage (2 days): Once you’ve baked your homemade bread, it is best eaten within 48 hours. We store ours wrapped in cloth at room temperature. Use a clean dish towel or a bread bag.
  • Frozen (3 months): Or, you can freeze it! It’s easy to cut your bread in half and freeze half of it! Let it cool to room temperature, then cut it into slices and place it into a sealed bag or container.
Best easy no knead bread

This no knead bread recipe is…

Vegetarian, vegan, plant-based, and dairy free.

Print
No knead bread

Easy No Knead Bread Recipe


1 Star2 Stars3 Stars4 Stars5 Stars (5 votes, average: 5.00 out of 5)

  • Author: Sonja Overhiser
  • Prep Time: 1 hour 30 minutes (including overnight)
  • Cook Time: 40 minutes
  • Total Time: 2 hours 10 minutes
  • Yield: 12 to 14 slices
  • Diet: Vegan

Description

This homemade no knead bread will wow everyone! It’s so easy to make and has the best flavor, crispy crust, and chewy interior. Great for beginners!


Ingredients

  • 3 cups all purpose flour (375 grams)
  • 1/2 cup whole wheat flour (62 grams)
  • 1/2 teaspoon instant or active dry yeast
  • 9 grams 1 1/2 teaspoons kosher salt
  • 1 1/3 cups water (314 grams)
  • 1 tablespoon apple cider vinegar (15 grams)

Instructions

  1. Mix the dough & rest overnight: In medium bowl, stir together the all purpose flour, whole wheat flour, yeast and salt. Add the warm water and vinegar and stir with a wooden spoon or dough whisk until all flour is incorporated. Place the bowl in a proofing bag or cover with plastic wrap. Rest at room temperature overnight (12 to 18 hours). The resulting dough will be bubbly and very sticky.
  2. Shape the dough: When ready to bake, remove the dough from the bowl onto a clean, lightly-floured countertop. Gently spread the dough into a square and then fold up each side into a packet. Flip the dough over. Place your hands behind the dough and gently pull the dough towards you to increase the tension on the surface of the dough. Rotate and repeat until you have a boule shape. Follow this video tutorial for boule shaping technique.
  3. Proof the dough for 1 hour: Place the boule on a piece of parchment paper about twice the width of the boule. Cover the dough with an inverted large bowl and rest one hour.
  4. Preheat the oven: Preheat the Dutch oven (with lid) at 475°F for 30 minutes. (Or for the pizza stone method, place the pizza stone on middle rack of oven, off to one side. Place a cast iron pan or thickest baking sheet on the rack just below and off to the other side of oven. You’ll pour water into it later to create steam.)
  5. Score the bread: Use a sharp knife or lame to cut several shallow slits at angle across the top of the dough. The photographs show this cross pattern.
  6. Bake for 16 minutes: Working quickly and carefully with oven gloves or mitts, transfer the dough on the parchment paper to the preheated Dutch oven, then place the top on. Bake for 16 minutes. (Or for the pizza stone method, transfer the dough on the parchment paper to the preheated pizza stone. After the bread is on the the stone, make the steam: cover your hand with a towel and very carefully pour 1 cup of water onto the cast-iron pan or baking sheet, then immediately close the door.
  7. Reduce to 400°F and bake for 25 to 27 minutes: After the 16 minutes, reduce the oven temperature to 400°F. Remove the Dutch oven, carefully take out the bread, and set the bread directly onto the oven rack. (Or for the pizza oven method, open the oven door a couple of times to fan out excess moist air.) Bake for an additional 25 to 27 minutes, until hollow when tapped or internal temperature is at 205 to 209 Fahrenheit. Remove the bread from the oven and allow it to cool on a cooling rack for at least 45 minutes. After cooling, the bread is ready to eat. Store the bread wrapped in cloth or in a bread bag on the counter for up to 2 days, or freeze (sliced) wrapped in foil in a plastic bag for several months.

  • Category: Bread
  • Method: Baked
  • Cuisine: Artisan

Keywords: No Knead Bread, No Knead Bread Recipe, Easy Bread, Easy Bread Recipe

Easy no knead bread
No knead bread

A Couple Cooks - Healthy, Whole Food, & Vegetarian Recipes


from A Couple Cooks https://ift.tt/33Mf1w4

Kale Quinoa Salad

This colorful kale quinoa salad is full of healthy ingredients and tastes incredible! Meal prep this easy plant-based lunch idea for meals all week.

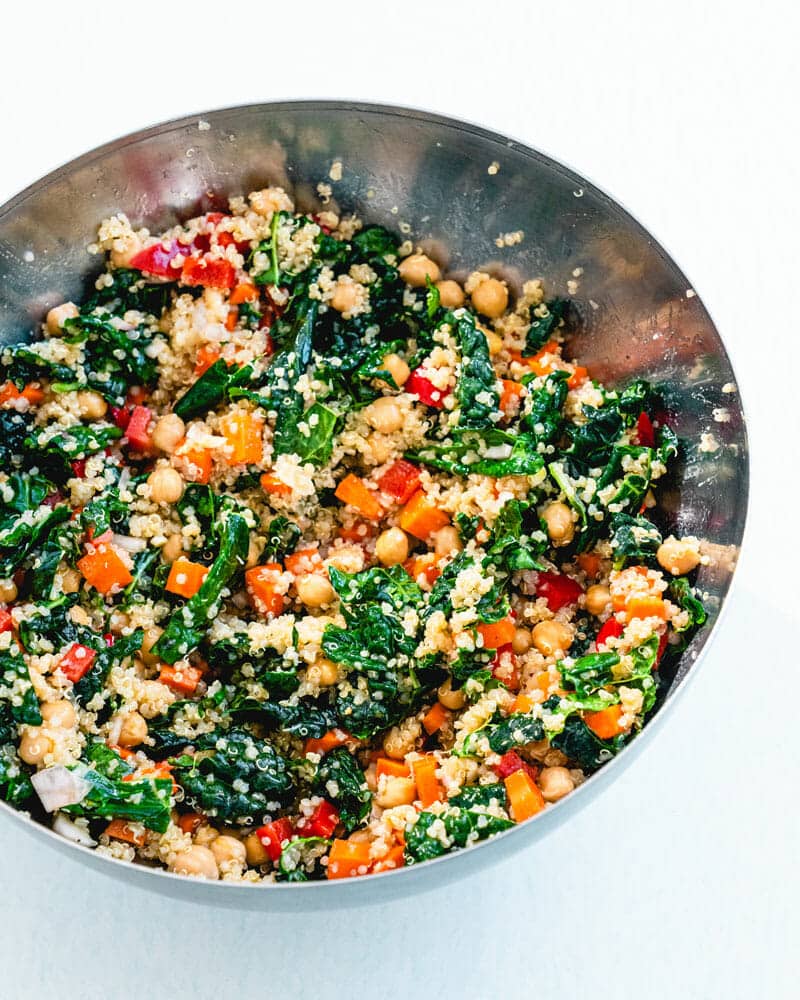
Kale quinoa salad

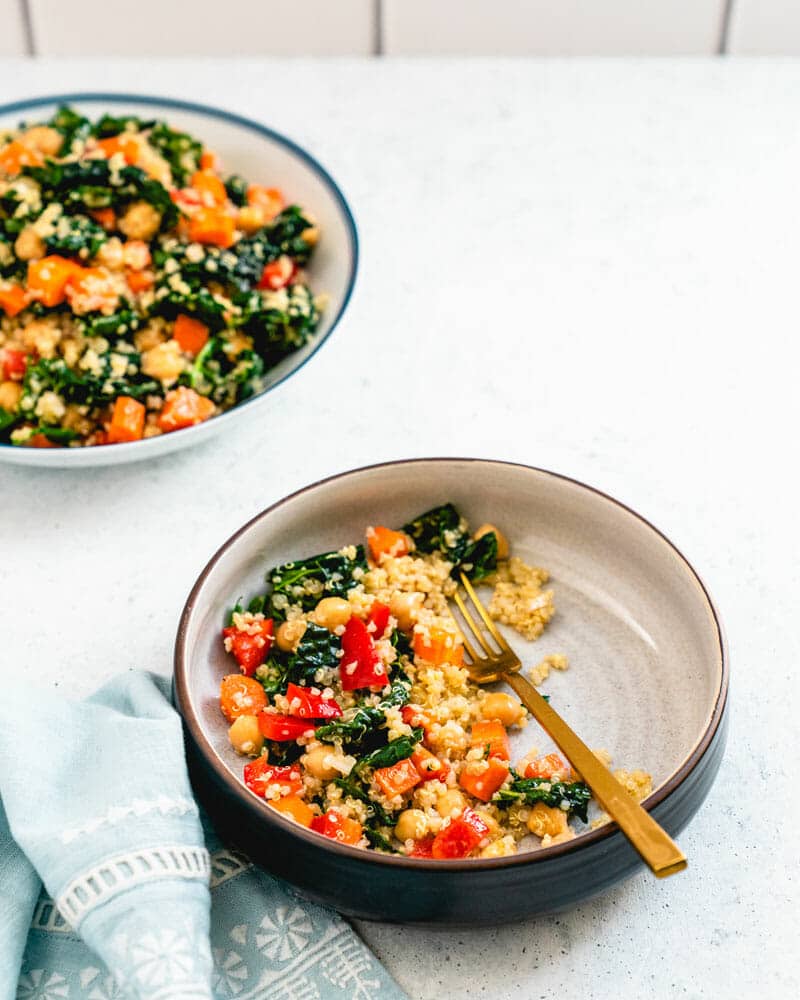
Looking for healthy lunch ideas? Here’s a salad that’s beautifully fresh and saves well for meals throughout the week: kale quinoa salad! Alex and I typically eat pretty boring for lunch, but we’ve been trying to up our game. And we’re thrilled to add this one to our repertoire. It’s full of healthy ingredients: quinoa, kale, peppers, carrots: and then covered in a delicious, ultra tangy dressing! It’s so flavorful and keeps that flavor 3 to 4 days in the fridge. Our lunches just got way more exciting! It also works as a side salad for healthy dinners.

What’s in this kale quinoa salad?

This kale quinoa salad has limited ingredients. Because our philosophy around here is pretty simple cooking (we even wrote a book about it). Yes, in every recipe we try to use as little ingredients as possible to get the biggest flavor. This salad is plant based and makes a fantastic tasty vegan lunch. Here’s what’s in this kale quinoa salad:

  • Quinoa: Use our stovetop quinoa or Instant Pot quinoa methods to make up a big pot.
  • Chickpeas: Using chickpeas adds plant-based protein. Substitute white beans if you’re not a chickpea fan!
  • Tuscan kale: Kale holds up well in the fridge and is a healthy leafy green! (More below.)
  • Bell pepper: Bell pepper is crunchy and full of Vitamin C.
  • Carrots: Carrot adds another healthy crunch and lovely color.
  • Dressing: The dressing is seriously simple: lots of apple cider vinegar to keep that tangy flavor for days, olive oil, and Dijon mustard.

And there’s one more secret ingredient…

Kale quinoa salad

And, the secret spice!

The last ingredient in this salad is optional, but we recommend it for big flavor. It’s this: 1 pinch of curry powder! We wanted to point this out because it’s not intended to make the salad taste like curry. Instead, it adds a unique complexity that’s almost imperceptible. That’s the key to making this healthy salad taste intriguingly delicious! If you don’t have it on hand, you can skip this part.

It’s easy to meal prep!

This kale quinoa salad is easy to meal prep for healthy lunches throughout the week: or an easy dinner! Here are a few notes on meal prep:

  • The salad stays fresh for 3 days (4 as a stretch). Many salads don’t work in the fridge. But this one is designed for it! Store it in the fridge and it tastes just as good for 3 days (the 4 day it starts to get a little tired, but we still ate what was left!).
  • Easiest way: use leftover quinoa. This salad is easiest to make if you make a big batch of quinoa and then use leftovers to make the salad. This way the quinoa is already cool! But you can also make it the day of.
  • If cooking quinoa day of, use our quick tip for cooling! You’ll need to cool down the quinoa quickly if you make it the day of. Our trick is to spread it on a baking sheet and pop it in the freezer for a few minutes. It cools right down to be able to assemble into the salad.
Healthy lunch idea kale quinoa salad

Variations on kale quinoa salad: mix ins!

There are lots of different additions you could add to this kale quinoa salad to spice it up a bit! Here are some of our favorite ideas:

  • Shredded Parmesan cheese: We tried this and the extra savory it added was delicious!
  • Chopped almonds or other nuts: Nuts add a nice hit of protein. Add these right before serving to keep them crunchy!
  • Dried cherries, cranberries or raisins: Add a sweet and savory element with dried fruit (yum!).
  • Chopped apples: Apples add a crunch and another savory sweet element.
  • Chopped cucumber, celery, or other crunchy veggie: Add a handful of any other chopped veggie for even more crunch.
Tuscan kale

Use Tuscan kale if you can find it

One note on kale varieties! Our favorite variety to use is Tuscan kale. Tuscan kale is an Italian variety with dark green, ruffled leaves. It has a mild and sweet flavor, making it easier to palate than the spicy and more bitter curly kale. It can be labeled as many different things in the grocery. Look for Tuscan, Lacinato, dinosaur kale, or cavolo nero: they’re all the same thing!

How to serve kale quinoa salad for lunch

To make this kale quinoa salad a filling and satisfying lunch, here are a few things we’ve served with it:

Kale quinoa salad

Serve it as a side dish or dinner salad!

Of course, you can serve kale quinoa salad for dinner too! It would be perfect as a recipe for a potluck or pitch-in in the summer. Or it’s an easy side dish for any season. You could also make it into a main dish salad! Here’s what we’d recommend:

Healthy quinoa salad

This kale quinoa salad recipe is…

Vegetarian, vegan, plant-based, dairy-free, and gluten-free.

Print
Kale quinoa salad

Kale Quinoa Salad


1 Star2 Stars3 Stars4 Stars5 Stars (No Ratings Yet)

  • Author: Sonja Overhiser
  • Prep Time: 10 minutes
  • Cook Time: 20 minutes
  • Total Time: 30 minutes
  • Yield: 6
  • Diet: Vegan

Description

This colorful kale quinoa salad is full of healthy ingredients and tastes incredible! Meal prep this easy plant-based lunch idea for meals all week.


Ingredients

  • 1 cup dry quinoa (3 cups cooked)
  • 1 bunch Tuscan kale (also labeled as Lacinato kale, dinosaur kale, or cavolo nero)
  • 15-ounce can chickpeas
  • 1/4 cup finely chopped shallot (or red onion or green onion)
  • 1 bell pepper
  • 2 carrots
  • 1/4 cup olive oil
  • 1/3 cup apple cider vinegar
  • 1 tablespoon Dijon mustard
  • 1 small pinch curry powder*
  • 1 large garlic clove, peeled and grated
  • 1/2 teaspoon kosher salt plus fresh ground black pepper to taste**

Instructions

  1. Make the quinoa: Go to Stovetop Quinoa or Instant Pot Quinoa. Make it in advance OR if serving immediately, bring the quinoa to room temperature: spread it in a single layer on a baking sheet and freeze it for 2 to 3 minutes until it cools.
  2. Prep the kale: Chop the kale. Sprinkle the kale with 1 pinch kosher salt. Coat your hands with a few drops of olive oil and massage the kale leaves for 2 to 3 minutes until all pieces are tender.
  3. Prep the other veggies: Finely chop the onion or shallot. Dice the pepper. Peel and dice the carrots.
  4. Mix the dressing: In a medium bowl, whisk together the olive oil, apple cider vinegar, Dijon mustard, curry powder, and grated garlic.
  5. Mix the salad: Mix the quinoa and vegetables together with the dressing and the 1/2 teaspoon kosher salt and fresh ground pepper. Add more kosher salt to taste. Stores up to 3 days refrigerated (you may need to add a pinch of salt before serving since it looses saltiness over time).

Notes

*A small pinch adds complexity without the flavor of curry in the salad.

**Optional add-ins: Parmesan cheese, chopped almonds or other nuts, dried cherries, cranberries or raisins, chopped apples, chopped cucumber, etc.

  • Category: Salad
  • Method: Stovetop
  • Cuisine: Lunch

Keywords: Kale quinoa salad

More easy lunch ideas

There’s always room for more inspiration for lunches, right? Here are some of our favorites:

A Couple Cooks - Healthy, Whole Food, & Vegetarian Recipes


from A Couple Cooks https://ift.tt/3bqyZ1Z

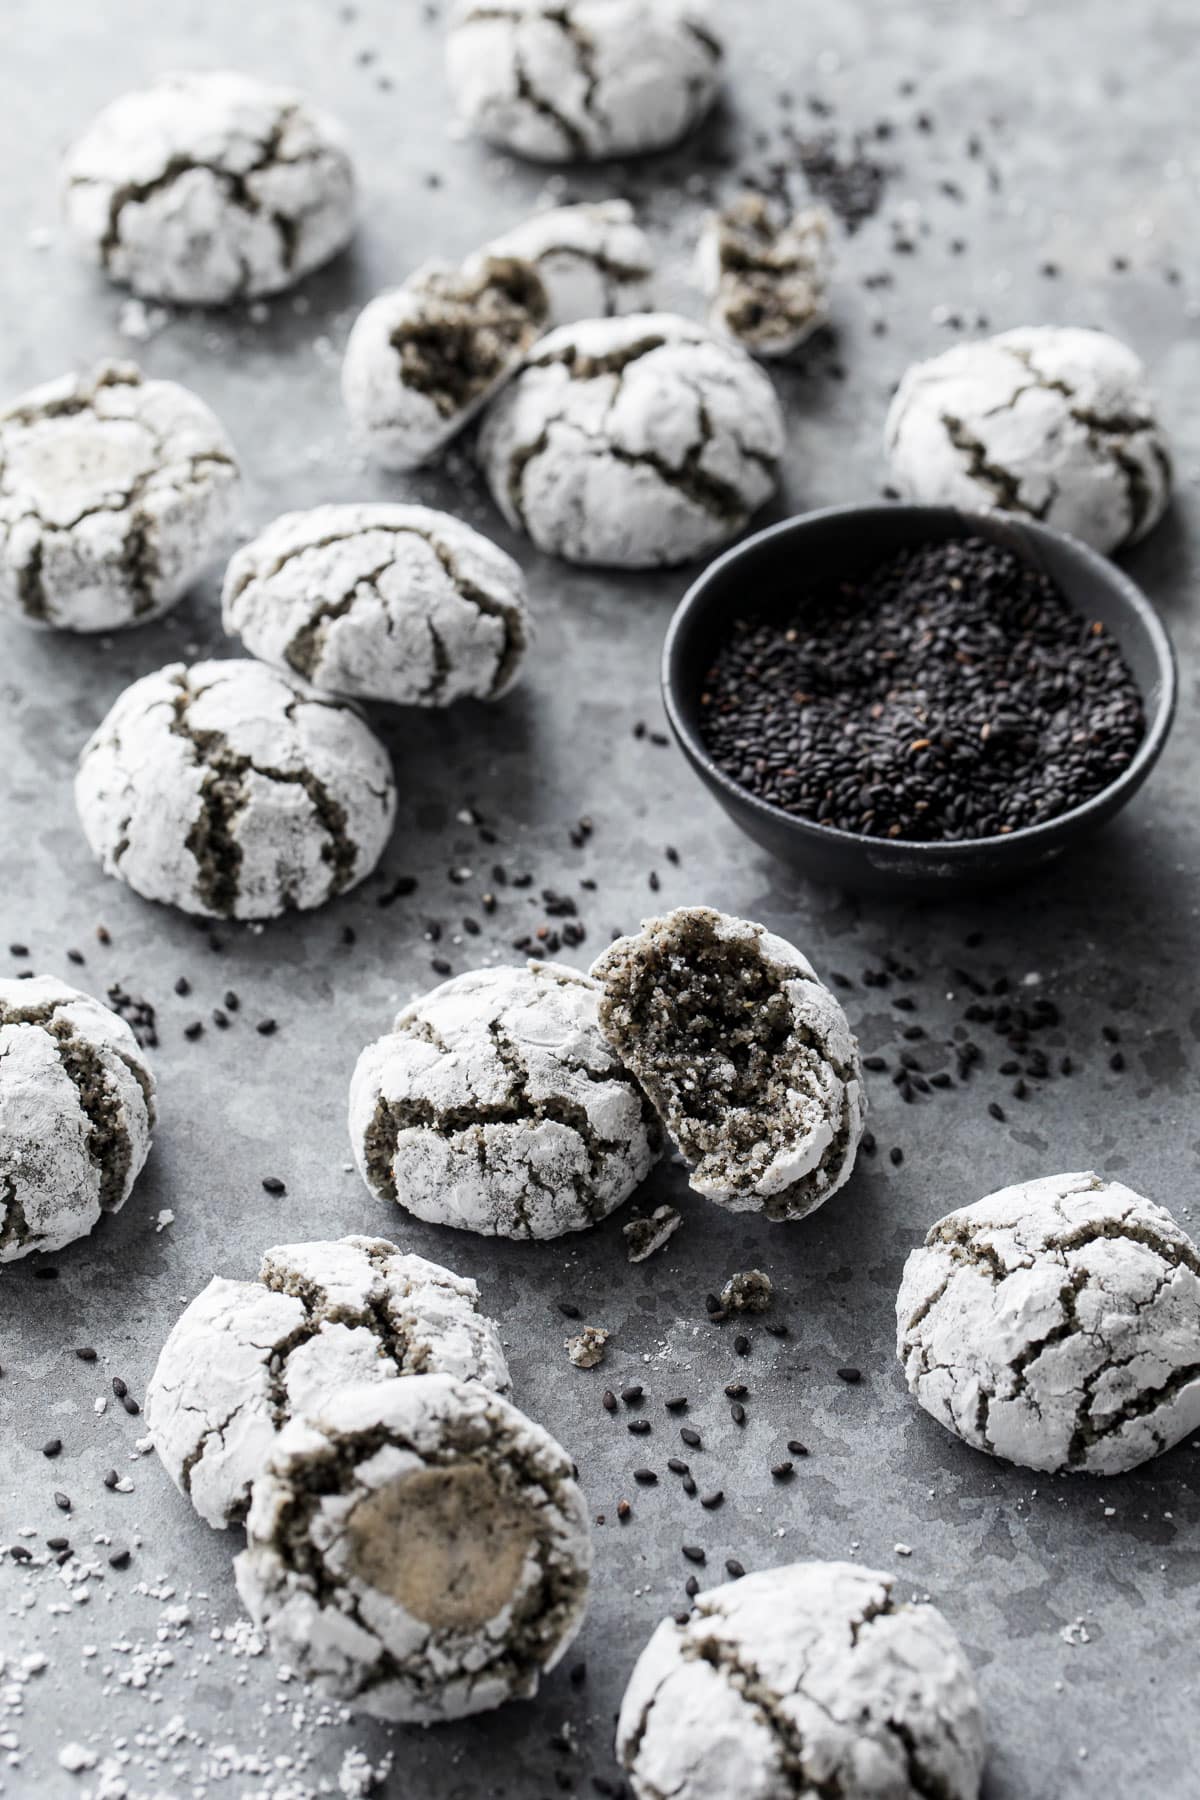
Black Sesame Amaretti Cookies

Amaretti are some of my favorite cookies for a reason: they are ridiculously simple to make, with only 3 main ingredients—plus the black se...