Pineapple Sorbet

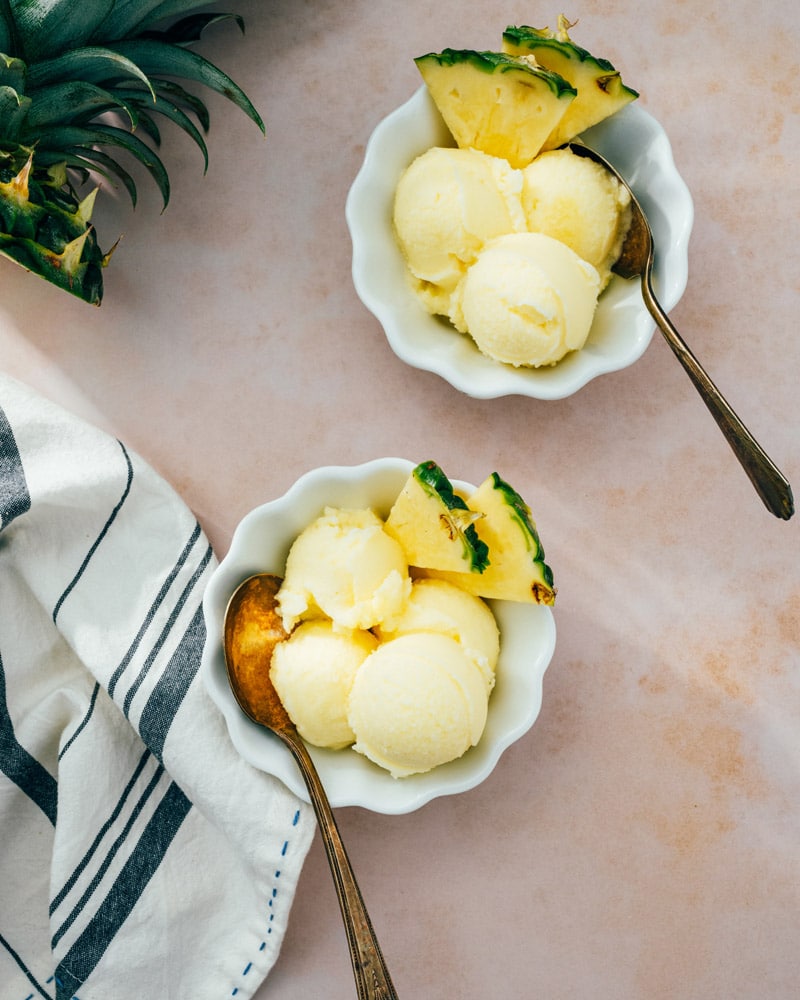
Pineapple sorbet is full of pure fruity, tropical flavor! This refreshing frozen dessert recipe is simple to whip up at home.

Pineapple Sorbet

Got a fresh pineapple on hand? Here’s a fantastic way to use it: Pineapple Sorbet! This frozen treat is bursting with pure, tropical fruit flavor. It has the best frosty, creamy texture and it’s so irresistible, no one can turn it down! All you need are a handful of ingredients and an ice cream maker to whip up this frozen dessert. We promise, neighbors and friends will come flocking! This was a big hit in our house, and we hope it will be in yours.

Ingredients for pineapple sorbet

Pineapple sorbet is quick and simple with just a few ingredients! While we’ve experimented with frozen pineapple in a sorbet, the best flavor we’ve found it using fresh pineapple. You’ll also need a blender and an ice cream maker (more on that below). The ingredients for pineapple sorbet are:

  • Fresh pineapple
  • Lime juice
  • Sugar

All you need to do? Blend the pineapple, lime and sugar with ice, then freeze the mixture in an ice cream maker for about 20 minutes. It comes together into a beautiful, frosty puree. Looking for more with fresh pineapple? Browse these 20 Pineapple Recipes You’ll Love.

Pineapple Sorbet

How to cut a pineapple

The most challenging thing about working with a fresh pineapple? How to cut it! It’s notoriously difficult to wrangle this large fruit. Here’s a quick primer on how to feel and chop it into chunks quickly:

  • Cut off the top and bottom: Use a large chef’s knife to cut off the top and bottom of the pineapple.
  • Remove the skin: Remove the skin of the pineapple by slicing it off, following the shape of the pineapple. 
  • Slice into quarters and core: Slice the pineapple in half lengthwise. Lay down each pineapple half on the flat cut side, and cut it in half lengthwise again. Remove the core by cutting it out at an angle. 
  • Dice: Slice each quarter in half lengthwise, then turn it and slice in the other direction to create pineapple chunks.

Want to see it in action? Here’s a video showing How to Cut a Pineapple: it breaks down the method and is the easiest way to learn knife skills.

Ice cream maker tips

The main tool you need for sorbet is an ice cream maker. It’s a great investment, and you can use it to make sorbets and ice creams all year round. Here’s the 2 quart ice cream maker we use: we’ve had ours for years and it holds up well. We highly recommend getting one: it’s worth the storage space.
Pineapple Sorbet

Make ahead & storage for pineapple sorbet

Pineapple sorbet is best the day it’s made: so if you can, churn it right before serving! You can also freeze it a few hours for a more solid texture, but freezing overnight makes it very solid. Here are a few tricks to working with leftovers:

  • Make the puree up to 2 days in advance. You can refrigerate until you’re ready to churn.
  • Line a storage container with parchment paper. This helps so the sorbet doesn’t freeze to the edges of the container and makes it easier to defrost.
  • Churn the sorbet up to 2 hours in advance of serving. The texture will be nicely solid at this point and easy to scoop into balls.
  • Leftovers save 1 week, but defrost at room temp for 20 to 30 minutes. Make time to leave it out the container on the counter until it defrosts. Don’t expect it to be like store-bought sorbet, which stays softer in the freezer.

More sorbet recipes

Fruit sorbets are quick and easy to whip up, and always a crowd pleaser! Here are a few of our favorite sorbet recipes:

This pineapple sorbet recipe is…

Vegetarian, vegan, plant-based, dairy-free and gluten-free.

Print

Pineapple Sorbet


  • Author: Sonja Overhiser
  • Prep Time: 30 minutes
  • Cook Time: 0 minutes
  • Total Time: 30 minutes
  • Yield: 1 quart (4 cups or 8 servings)

Description

Pineapple sorbet is full of pure fruity, tropical flavor! This refreshing frozen dessert recipe is simple to whip up at home.


Ingredients

  • 6 cups (2 pounds) fresh pineapple, peeled and chopped
  • 1 cup granulated sugar
  • 4 tablespoons lime juice
  • 1 cup ice
  • 1 pinch kosher salt

Instructions

Note: Make sure the base of the ice cream maker is frozen overnight before making this recipe.

  1. Peel and chop the pineapple.
  2. Place the pineapple in a food processor or high-powered blender and puree. Add the sugar, lime juice, ice and salt and puree until smooth. (To make ahead, you can refrigerate at this point until you want to churn, up to 2 days.)
  3. Pour the mixture into an ice cream maker and freeze for 20 to 25 minutes. The texture will be frosty and creamy at this point. Serve immediately. Or, line a container with parchment paper and freeze up to 2 hours day of. Store in a parchment lined sealed container for up to 1 week; allow to come to room temperature for about 20 to 30 minutes before scooping.
  • Category: Dessert
  • Method: Frozen
  • Cuisine: Dessert
  • Diet: Vegan

Keywords: Pineapple sorbet

A Couple Cooks - Recipes worth repeating.


from A Couple Cooks https://ift.tt/NFdwGeL

Best Grilled Vegetables

Here’s how to make grilled vegetables! Fire up the grill for the best summer side dish that goes with any meal.

Grilled Vegetables

It’s grilling season! The grill brings a crisp char and irresistible smoky flavor to everything it touches. And don’t relegate it just to burgers or ribs. Make your side dish at the same time with these best grilled vegetables! This mix of veggies is delicious, colorful, and the best part: they all cook at approximately the same rate. Throw them together with a quick mix of balsamic, olive oil and a hint of rosemary, and you won’t be able to stop eating them.

Ingredients for grilled vegetables

You can grill just about any vegetable. At the same time, you can’t just throw them all and hoping for the best! Some vegetables are tougher than others, like carrots and potatoes. This type of vegetable needs to be parboiled before grilling. In this mix of best grilled vegetables, we’ve picked veggies that all cook with a similar timing. Here’s what you’ll need:

  • Baby bella mushrooms
  • Green beans
  • Red and orange bell peppers
  • Zucchini
  • Yellow squash
  • Red onion

Do vegetables work with this timing? Yes! You can try small florets of broccoli, asparagus spears, or small cubes of eggplant in this mixture.

Grilled vegetables

How to grill vegetables

All you really need to know about grilled vegetables, aside from which to pair together, is the grill temperature and timing. Memorize those few things, and then make this recipe on repeat all summer! For this recipe, you don’t even need a grill basket. You can throw these veggies right onto the grates! Here are the basic steps for how to grill vegetables (or jump to the recipe below):

  • Preheat a grill to medium high heat (that’s 375 to 450 degrees Fahrenheit).
  • Chop the vegetables into bite sized pieces. You can leave the green beans whole.
  • Mix with olive oil and kosher salt. See the quantities in the recipe below.
  • Grill 14 to 17 minutes with the vegetables directly on the grates, turning every few minutes as grill marks appear.

Optional: add a quick and easy sauce!

You can eat these grilled vegetables right off the grill and they taste incredible. Even better? Mix them with a quick mix of olive oil and balsamic vinegar to heighten the flavors. All you need is 1 tablespoon of each, and it adds just the right shine and hint of brightness to the veggies. We like to add 1 clove grated garlic and ½ teaspoon fresh rosemary to really bring out the flavors.

Grilled Vegetables

Or, serve with a dipping sauce!

You can also serve grilled vegetables with a dipping sauce! Creamy sauces like aiolis, honey mustard or even Green Goddess dressing make irresistible dips. Here are a few ideas:

More grilled vegetables recipes

Didn’t find what you’re looking for? Here’s a list of master recipes of how to grill any vegetable you want to cook: on its own! Infuse sweet smokiness into bell peppers. Try sizzling, meaty portobello mushrooms. Grill up some tender asparagus to go with your salmon. Even try grilled avocado or BBQ cauliflower for a unique twist! These truly are the best grilled vegetables to make at home…ready to make an appearance as an easy side dish at your next grilled meal.

Grilled main dishes & desserts to pair

Want to accessorize with these grilled vegetables? Here are some of our top grilled dinner ideas to pair…plus some tasty grilled desserts!

Print
Grilled Vegetables

Best Grilled Vegetables


  • Author: Sonja Overhiser
  • Prep Time: 15 minutes
  • Cook Time: 15 minutes
  • Total Time: 30 minutes
  • Yield: 4 to 6

Description

Here’s how to make the best grilled vegetables! It’s the perfect easy side dish for grilled dinners. 


Ingredients

  • 8 ounces baby bella mushrooms, sliced in half
  • 8 ounces green beans
  • 2 bell peppers, sliced
  • 2 small zucchini or yellow squash, cut into bite sized triangles
  • 1 medium red onion, quartered
  • 3 tablespoons olive oil, divided
  • 1 1/4 teaspoon kosher salt, divided
  • 1 tablespoon balsamic vinegar
  • 1 garlic clove, grated
  • ½ teaspoon chopped fresh rosemary

Instructions

  1. Preheat a grill to medium-high heat (375 to 450 degrees Fahrenheit).
  2. Cut the vegetables. Toss them with 2 tablespoon olive oils and 1 teaspoon kosher salt. Add the vegetables directly to the grates and cook for 14 to 17 minutes, turning every few minutes as grill marks appear. When vegetables are tender, remove them to a bowl (if any pieces start to char early, remove to a bowl while remaining cook).
  3. Meanwhile, in a small bowl mix together 1 tablespoon olive oil and ¼ teaspoon salt with the balsamic vinegar, grated garlic and fresh rosemary. Once all the vegetables are cooked, pour the sauce onto the vegetables and toss. Serve immediately. 
  • Category: Side Dish
  • Method: Grilled
  • Cuisine: Vegetables
  • Diet: Vegan

Keywords: Grilled vegetables, Best grilled vegetables, How to grill vegetables

More summer recipes!

Summer is all about the grill! To go with these grilled vegetables, we’ve got lots more recipes, from grilled dinners to summer drinks:

A Couple Cooks - Recipes worth repeating.


from A Couple Cooks https://ift.tt/I1zpe6D

Curried Chicken, Chickpea & Arugula Wraps

These curried chicken & arugula wraps are proof that lunch doesn’t have to be boring: healthy and satisfying with a mix of tantalizing flavors and textures that’ll make your tastebuds happy indeed.

Featuring a curried chicken and chickpea salad, sweet tart cranberry sauce, crunchy almonds and a pile of spicy greens and herbs, these fresh and flavorful curried chicken wraps are sure to be a new lunch favorite.

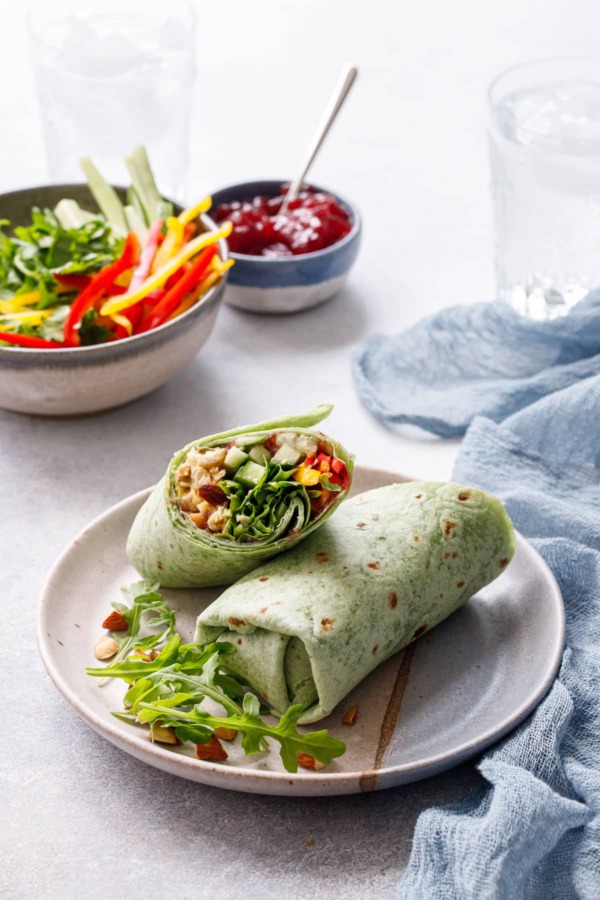
One cut Curried Chicken, Chickpea & Arugula Wrap on a plate, bowls of ingredients blurred in the background.

Lunch has always been a struggle for us. Working from home, you think it wouldn’t be, but unless we have leftovers from the night before (which we often do, we’re masters at cooking for 4 despite there being only 2 of us) our well of lunch-inspiration is disappointingly shallow.

We went through a long stretch of cheesiness (get it, cheese? stretch?) with grilled cheese, quesadillas, or cobbled together cheese and crackers being the most common of our lunch choices, along with the holy trinity of ‘salad’ sandwiches (chicken salad, tuna salad, and egg salad).

But in an effort to eat a bit less cheese, we turned to wraps, and quickly realized that basically any kind of sandwich or salad (or salad sandwich), can, in actuality, become a wrap.

Still, as good as a chicken caesar salad or turkey club wrap is, it gets repetitive after the first week or two. And the quickest way to turn us off from something is to overdo it. Needless to say we try to mix up the wrap flavors regularly to keep it fresh, so we’re always looking for inspiration.

(more…)


from Love and Olive Oil https://ift.tt/OZPwjDh

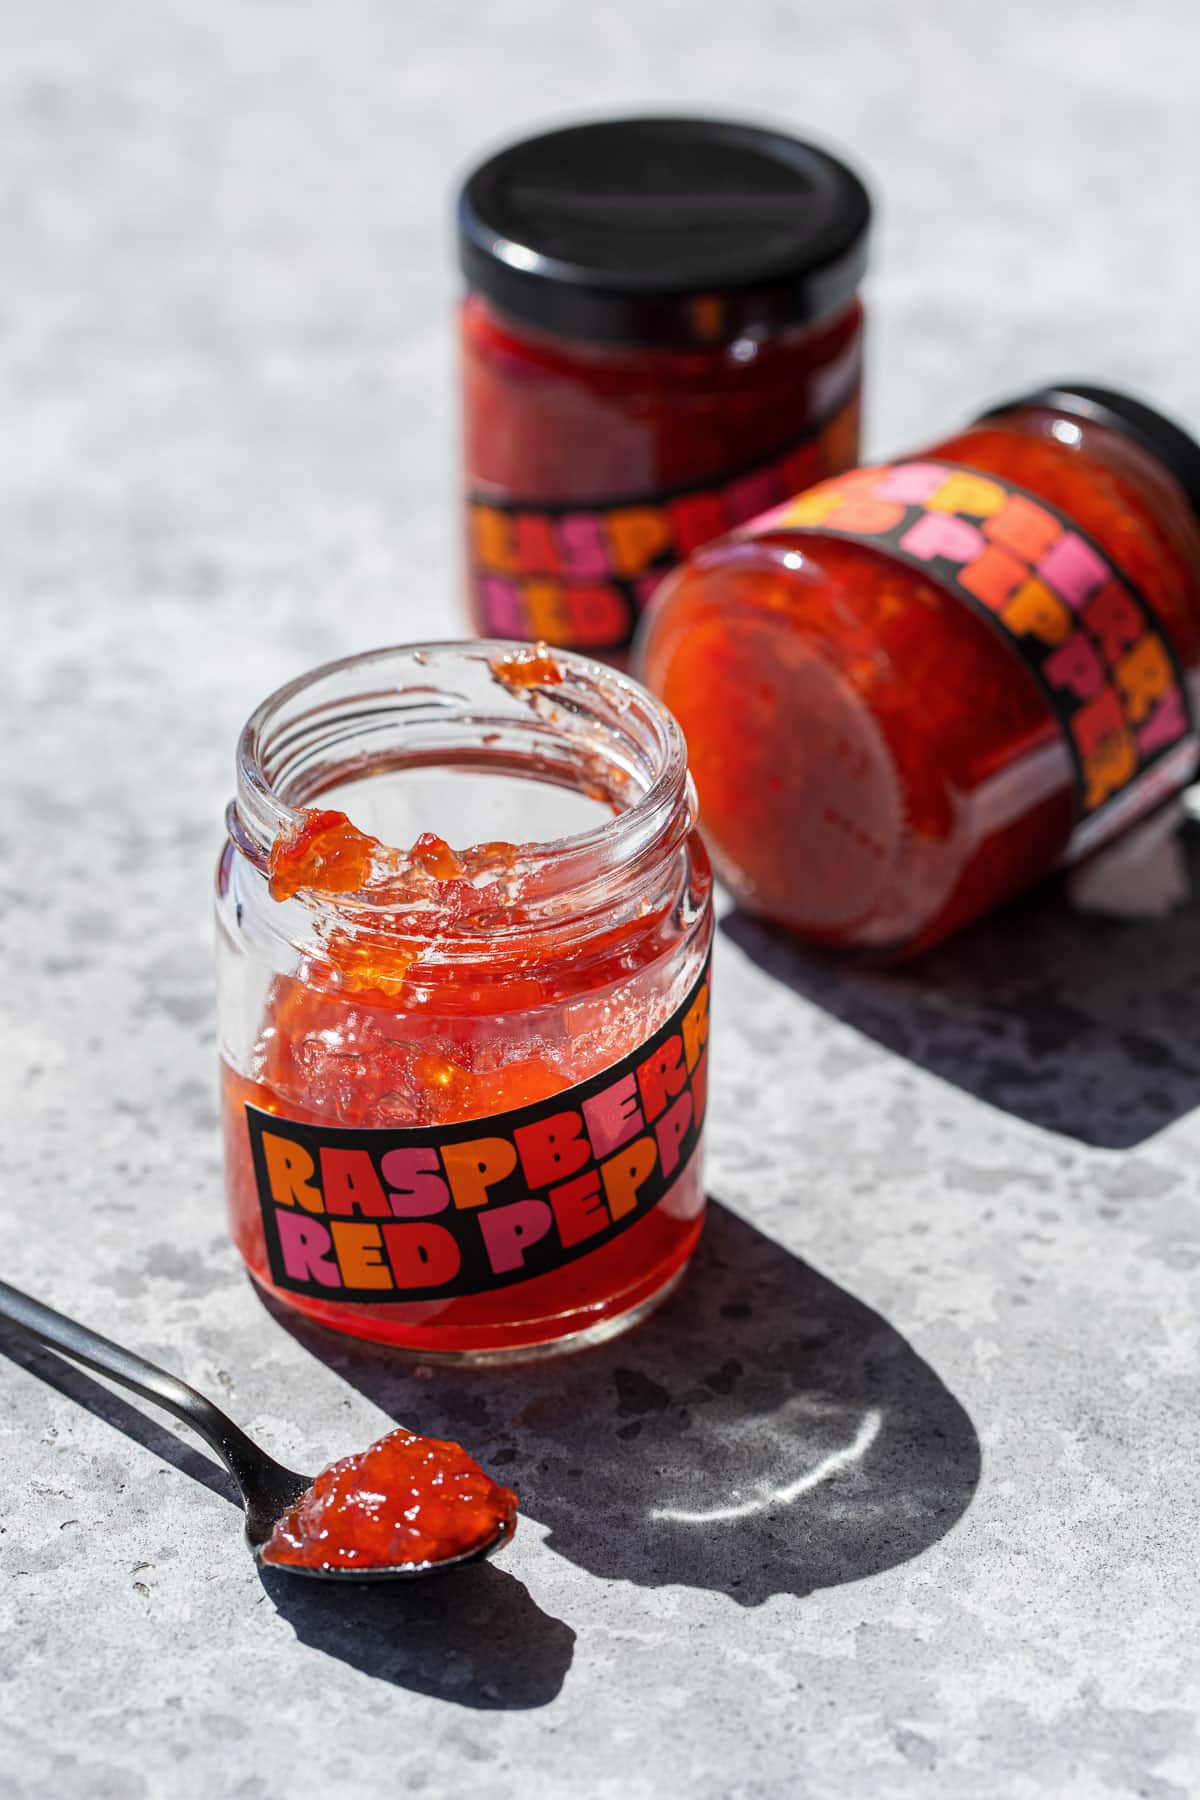
Raspberry Red Pepper Jelly

Sweet and spicy and fruity: that’s what this jelly is made of! With just the right amount of spice, balanced with sweetness and fruitiness ...