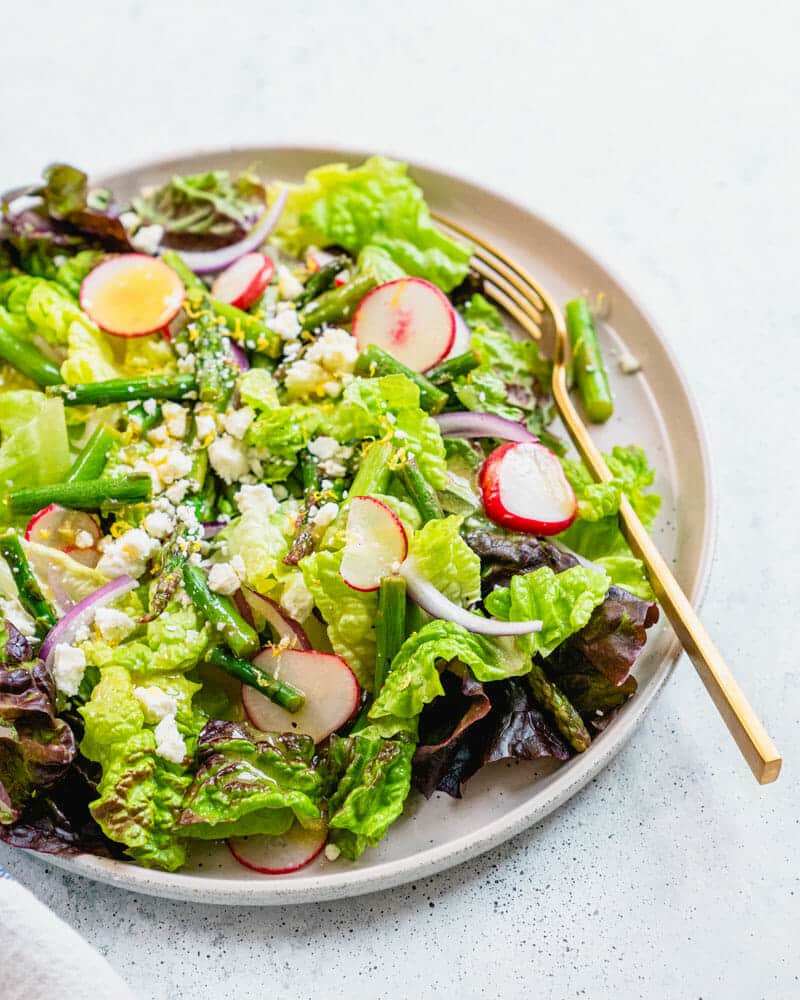
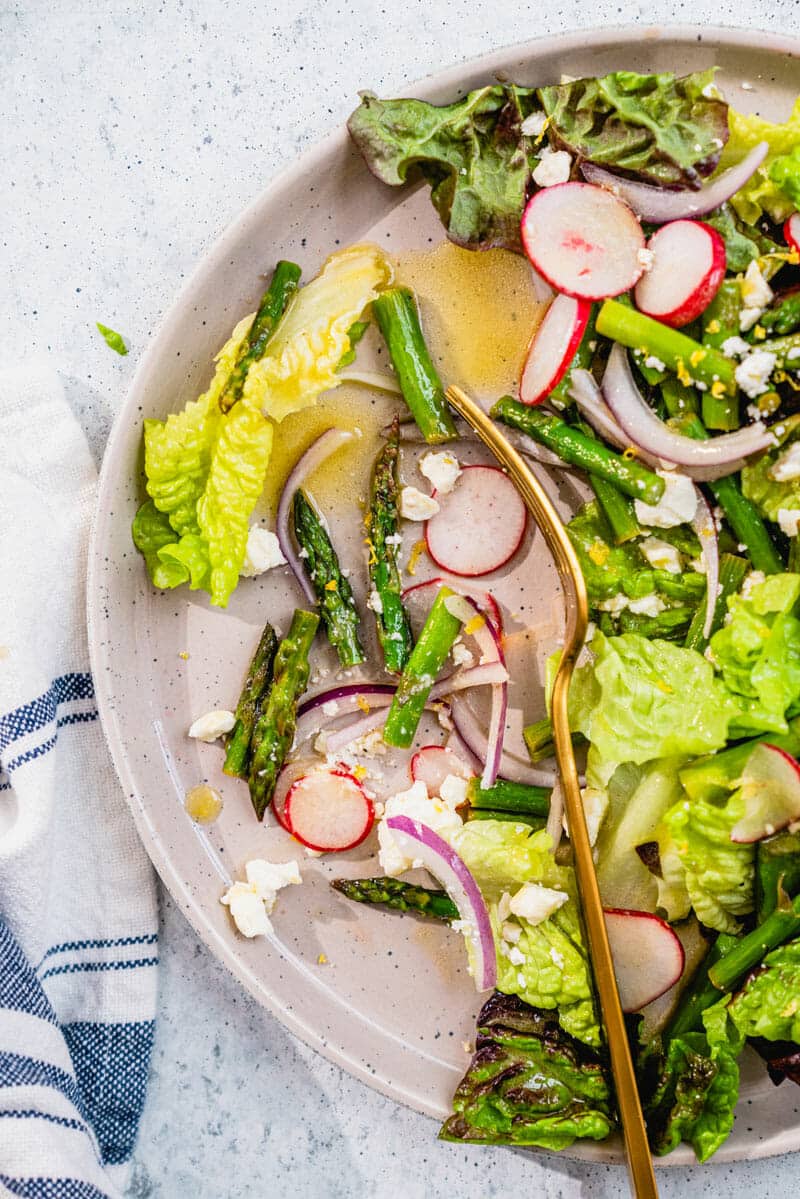
This asparagus salad is bursting with flavor and totally versatile! Ithighlights this healthy veggie with lemon, radishes, feta, and a Dijon dressing.
Want a salad that’s as tasty as it is versatile? Enter: asparagus salad! It’s got savory sauteed asparagus, cooked up in a hot pan for a few minutes then spritzed with lemon. Add that to a bed of greens and sprinkle with with peppery radishes and salty feta cheese. A Dijon mustard dressing tops it off, perfectly balanced with tangy and savory notes. Even better: you can serve as a side dish, or add cooked quinoa and make it a main dish salad. When Alex served it to me, I exclaimed “Yum!” halfway into the first bite…which was when we knew we had to share the recipe.
What’s in this asparagus salad?
This asparagus salad features spring’s most popular vegetable! Asparagus is usually available most of the year, but it’s best in March through June. If you can find this veggie at a local farmers market, make sure to pick some up! The best asparagus is fresh, tender local asparagus.
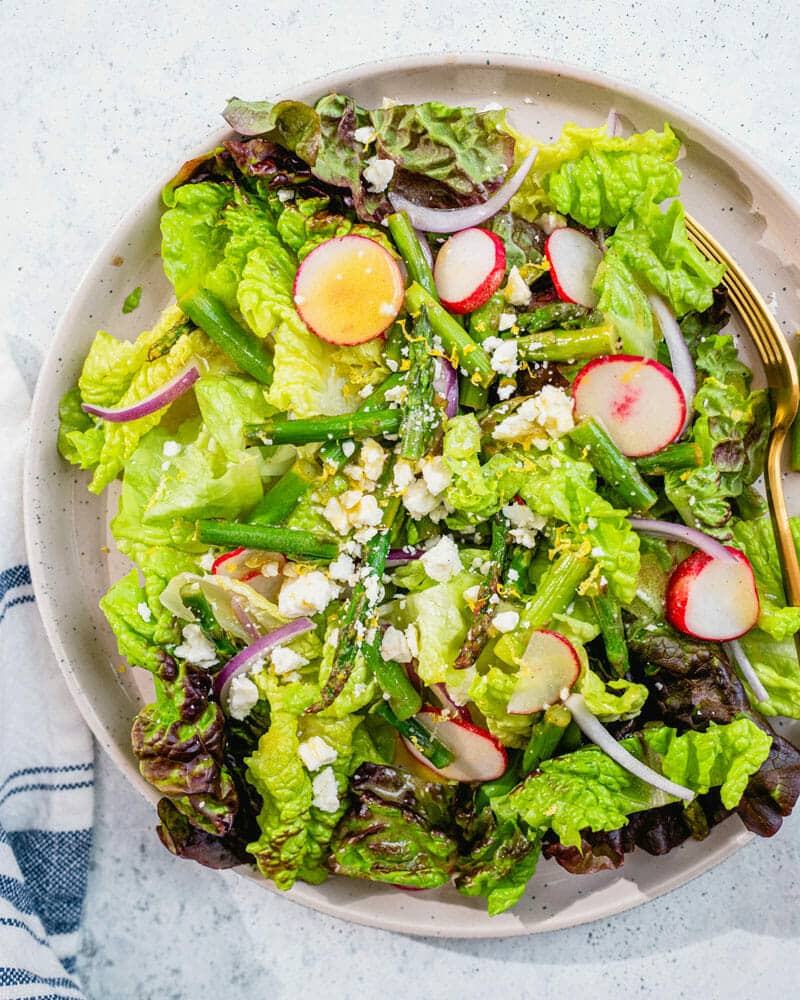
To complement the robust flavor of asparagus, we wanted to surround it with fresh, zingy flavors like lemon and crunchy greens. Here’s what’s in this asparagus salad:
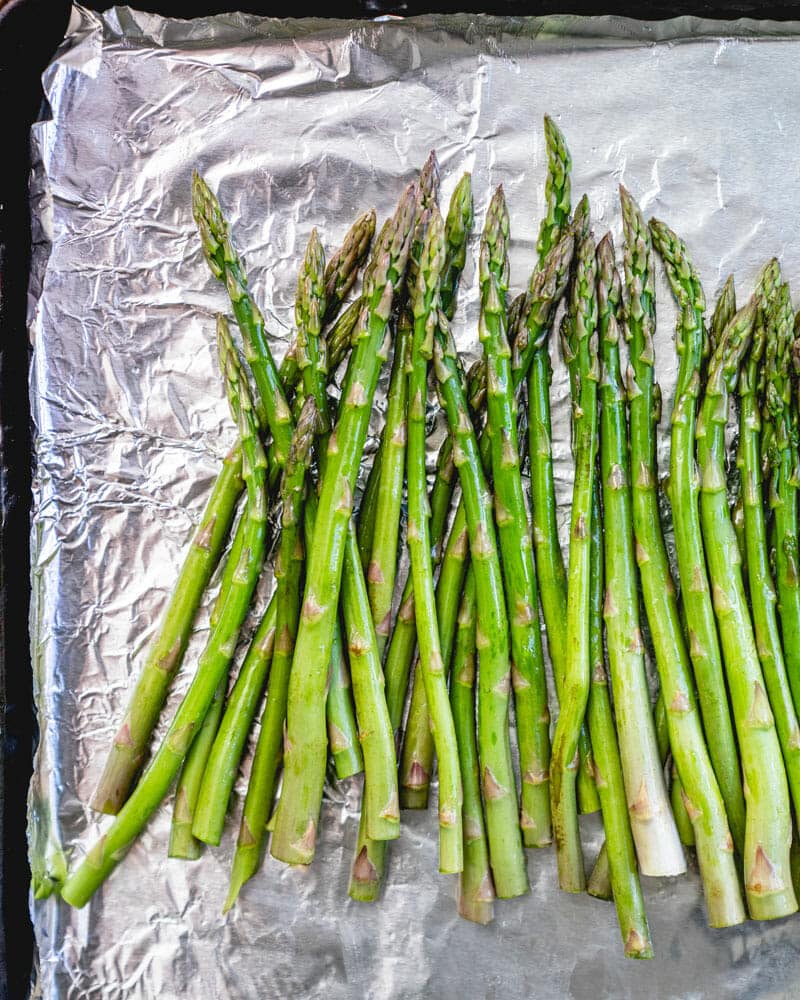
Asparagus: You’ll use our sauteed asparagus recipe, cooked in a hot pan and squeezed with lemon. It’s also great as a stand-alone side dish!
Radishes: Peppery radishes add a kick.
Red onion: Onion adds a savory note; you could also use green onion.
Feta cheese: Brings savory saltiness.
Lemon zest: Adds a nice freshness; you can use the lemon from the sauteed asparagus recipe. (Here’s how to zest a lemon.)
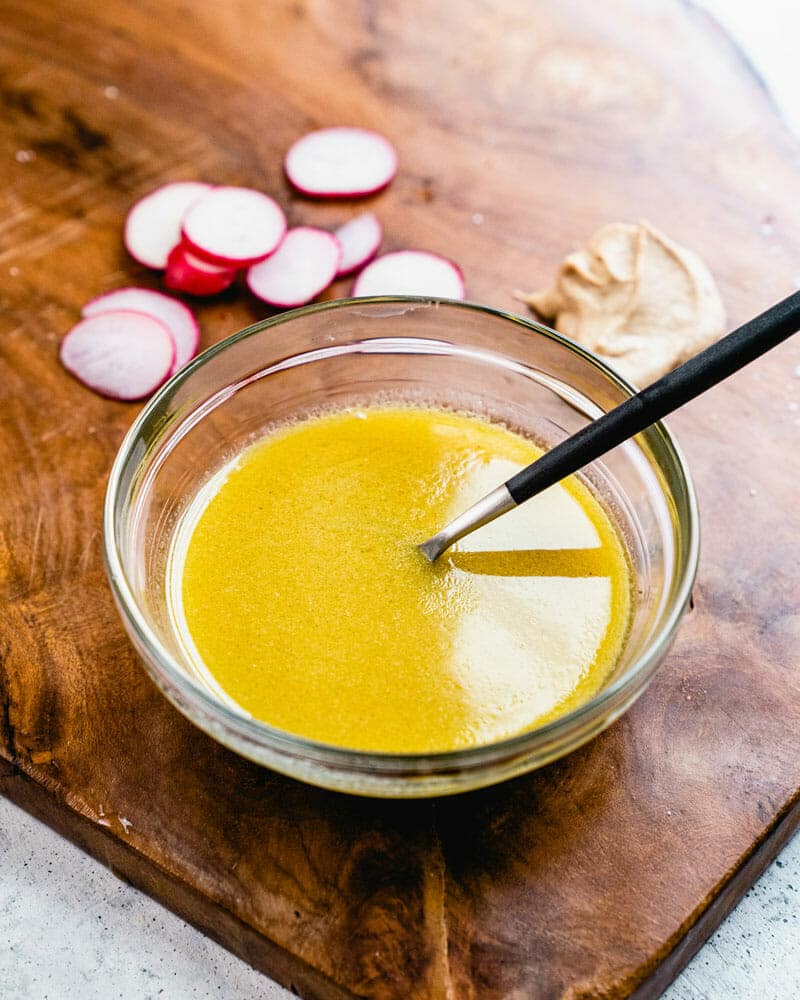
Dijon dressing: This healthy dressing just 5 minutes to make and covers the entire salad with a tangy brightness
This salad is so versatile, you can serve it with just about anything! It’s up there in our list of our favorite salad recipes. Here are a few ways we’d recommend:
As a main dish salad: Add cooked quinoa to make this asparagus salad a main dish salad for lunch or a light dinner.
With soup: Imagine it with this Vibrant Spring Soup for a springy luncheon or dinner party.
With risotto: This would pair nicely with Easy Mushroom Risotto, adding a nice source of fiber.
Asparagus nutrition
Is asparagus healthy? You bet. There are lots of great things about eating this super vegetable; here are some highlights:
High in fiber: It’s a great source of fiber: 1 cup of cooked asparagus has 4 grams of fiber. (Source)
High in Vitamin K: It’s a great source of vitamin K, over 50% your daily requirement. Vitamin K is a nutrient involved in blood clotting and bone health (Source).
Relatively high in protein: It’s also high in protein for a green vegetable: 1 cup also has 4 grams protein. (Source) That’s a similar level to broccoli and potatoes.
Other ways to use asparagus?
Looking to add more asparagus to your life? Outside of this asparagus salad, here are some of our favorite ways to serve this veggie:
Easy Baked Asparagus An easy side dish that’s a hit with everyone! The green stalks are roasted until tender, spritzed with lemon & topped with Parmesan.
Roasted Asparagus with Lemon Or, bake it in the oven for about 10 minutes with garlic, olive oil, and lemon slices. Perfection!
Shaved Asparagus Salad Ever tried asparagus raw? It tastes mild and sweet! Eat it as shaved asparagus salad, which pairs the ribbons with a tangy lemon vinaigrette and Parmesan.
This asparagus salad recipe is…
Vegetarian and gluten free. For vegan, plant-based, and dairy-free, omit the cheese and add chopped roasted salted almonds.
This asparagus salad is bursting with flavor and totally versatile! It highlights this healthy veggie with lemon, radishes, feta, and a Dijon dressing.
2 bunches salad greens, including romaine lettuce (about 8 cups)
Lemon zest, for garnish (using the lemon from the asparagus recipe)
Optional: turn it into a main dish salad by adding cooked quinoa!
Instructions
Thinly slice the red onion into slivers. Place them in a bowl of water while you prepare the salad, then drain before using (this mellows the strong flavor). Thinly slice the radishes.
To serve, clean and dry the salad greens as necessary. Place the greens on serving plates, then top with sauteed asparagus, red onion, radishes, feta cheese crumbles, and lemon zest. Drizzle with dressing and serve.
Step up your snacks or parties with this homemade crackers recipe! This crispy flatbread style cracker is full of flavor, and all natural with no additives.
We’re here with another baking tutorial: this time a homemade crackers recipe! Alex and I got out of the habit of making crackers…but are happy to report we’re back on the train. These homemade crackers are full of big, real flavor: nothing like the store-bought kind. They’re perfectly seasoned and crispy. Even better: they’re so fun to make at home! And they’re very easy: no yeast, no proofing, no special equipment to order (like our bread recipes). Here’s how to make crackers at home!
You probably already have the ingredients for these crackers at home! Since we eat mostly plant based, this is a vegan crackers recipe, too. Here’s what you’ll need:
Flour: Half whole wheat flour and half all purpose, but you can use 100% all purpose flour if it’s all you have!
Seasonings: Italian seasoning, sesame seeds, garlic powder, black pepper and salt: you can also vary the seasonings (see below).
Olive oil& water: Used as the binder.
Maple syrup: Balances the flavor just enough (you could omit for no sugar diets). You can substitute honey if that’s what you have on hand.
How to make crackers at home
There’s no real technique required to making this crackers recipe! Unlike our bread recipes like sourdough bread or baguettes, there’s no proofing or shaping. All you do is roll out a thin sheet! Here are the basic steps (or go to the full recipe below):
Mix the dough. Whiz the dough in a food processor. You can also stir by hand.
Rest for 10 minutes. Divide the dough into 2 balls and let it rest for 10 minutes.
Roll out each dough into a very thin sheet. The thinner the better, because thin dough gets the crispiest.
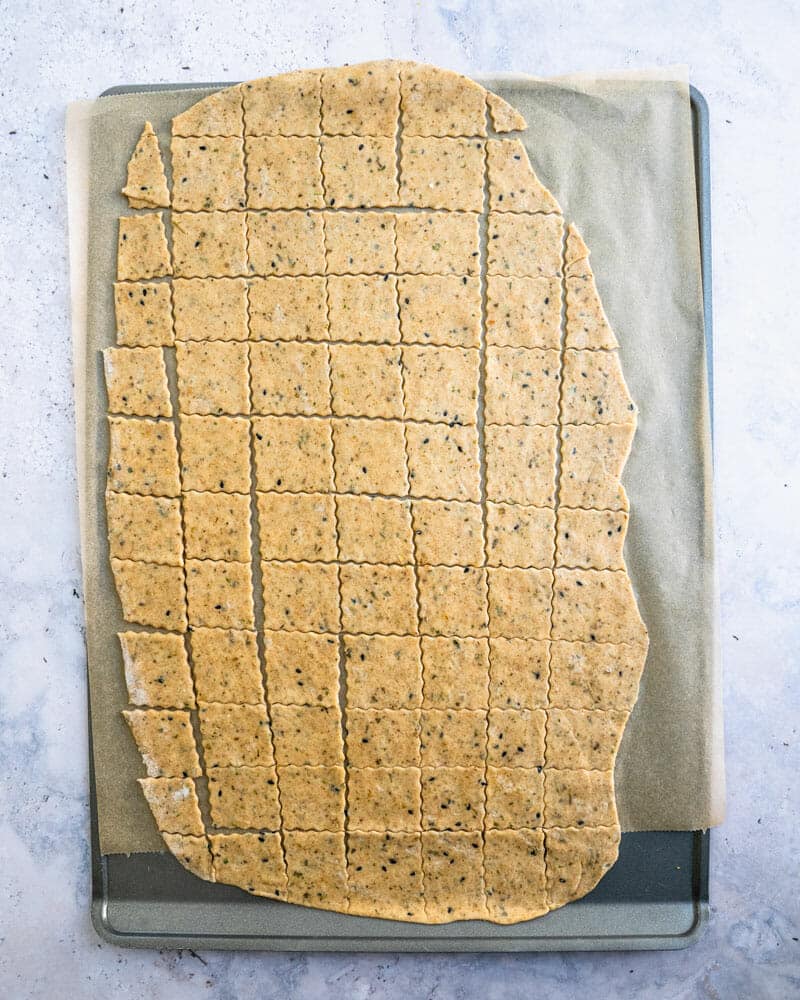
Use a pizza cutter to cut into crackers, about 1 1/2 inches wide. It doesn’t have to be perfect (as you can see below!). Unless you’re into perfectly square crackers.
Bake for about 15 minutes total, turning at 6 minutes. The exact bake time will depend on the thickness of the dough and variations in ovens.
Crackers variations: new seasonings!
The vibe we went for with this crackers recipe was Mediterranean style: Italian seasoning, sesame seeds (for look and flavor), and salt and pepper. If you don’t have Italian seasoning onhand, just use equal parts dried oregano and dried basil. Here are some other ideas for seasonings if you’d like to change up the vibe:
Double the sesame seeds and nix the Italian seasoning
Caraway seeds (they’re in rye bread, so they add a rye vibe)
Poppy seeds
Storage for homemade crackers
Homemade crackers don’t have preservatives like crackers from the store, so the storage recommendations are different. This crackers recipe will stay good for about 1 week. Here’s how to store them:
Place them in a sealable container BUT don’t seal the lid. That’s right! These crackers are best stored with the lid ajar or loose. This keep the crackers the crispiest! We try a side-by-side test and the loose lid was the winner.
To recrisp them, heat in a 225 oven for 15 minutes. Want to have that oven-fresh crispness again? Throw your crackers in a 225 degree oven for 15 minutes, and they taste new again!
Do you have to use a food processor?
It’s easiest to make this crackers recipe in a food processor, because the processor helps to mix the dough to just the right consistency without having to add too much water. But if you don’t have one, never fear! You can also mix it by hand: simply use a bowl and a wooden spoon. Let us know if you try the hand mixing method and how it goes.
Food processor recommendation
Alex and I use a food processor often: outside of this crackers recipe for hummus, pesto, almond butter and peanut butter, etc. It’s much more powerful than a blender and we use it all the time. The large size is most versatile, which we recommend. If you’re looking to add one to your kitchen, ere’s one we like: Cuisinart 7 Cup Food Processor.
Ways to serve this crackers recipe
Use this homemade crackers for all your snacking and entertaining needs! Here are all the ways we love to snack on these crispy crackers:
Step up your snacks or parties with this homemade crackers recipe! This crispy flatbread style cracker is full of flavor, and all natural with no additives.
Ingredients
1 cup whole wheat flour (or substitute all purpose flour)
In a food processor, pulse the whole wheat flour, all purpose flour, Italian seasoning, sesame seeds, garlic powder, black pepper, and 1 teaspoon kosher salt. (Alternatively, you can stir these ingredients together in a bowl.)
In a liquid measuring cup, stir together the olive oil, water and maple syrup. Then turn on the food processor and slowly drizzle in the liquids (through the hole in the lid) while the motor is running until a ball forms. You may have a little water left over; or, add a drizzle of water if necessary. (Alternatively, pour in the liquid ingredients and stir until a very sticky dough forms.)
Divide the dough into two dough balls. Place them on the counter, cover with a towel, and rest 10 minutes.
Lightly flour a clean countertop. Take one dough ball and use a rolling pin to roll out a thin rectangle, approximately 10 inches by 14 inches (the thinner the crispier!). Sprinkle more kosher salt evenly on top and roll over it several more times to incorporate it into the top. Transfer the dough to a sheet of parchment on your countertop. Cut with a roller to make squares about 1 1/2 inches on each side. Transfer the parchment paper to a baking sheet. Do the same with the other sheet of dough.
Place the baking sheets in the oven and bake for 6 minutes, then rotate the pans (and switch oven racks) and bake about 8 to 10 minutes more until lightly browned. The crackers on the edges may get a little darker depending on how even your oven is. Cool for several minutes before eating; the crackers will become crispier as they cool.
Storage: Store the crackers in a sealable container for up to 1 week, but leave the lid ajar / loose. This keeps the crackers crispy! If you’d like them crispier after a few days, bake at 225 degrees Fahrenheit for 15 minutes.
Notes
*If you don’t have Italian seasoning, you can use 1 1/2 teaspoons dried oregano and 1 1/2 teaspoons dried basil.
This crusty French baguette recipe is easier to make than you think! Here’s a video tutorial showing how to make this classic crusty bread.
What’s better than a crunchy fresh French artisan baguette? (Almost nothing.) Well, here’s an easy baguette recipe you can make at home! It’s simple to make: there’s no special equipment required! And the only ingredient you need are all-purpose flour, yeast and salt. You will be absolutely amazed at the crunchy texture, tangy flavor, and beautiful long loaf. We have a long list of bread recipes (including our “famous” sourdough bread), but Alex and I agreed this one is our new favorite. The flavor is out of this world. Here’s what to do!
How to make this baguette recipe: an overview!
Here’s the basic outline of what you’re getting yourself into with this baguette recipe. The process spans 3 days! Day One takes 1 hour (just a few minutes of hands on time) and you’ll need about 3 hours on Day Three to shape and bake it. In between, you’ll rest the dough in the refrigerator for 2 days. This is the secret to the very best baguette flavor! Here’s an outline of what you’ll have to do:
Day 1
Mix the dough, proof 1 hour, refrigerate (15 minutes active)
Equipment list for making a baguette (nothing special needed!)
This baguette recipe requires no special equipment! Compared to other artisan bread recipes like our sourdough, artisan, or even no knead, it’s got the smallest list of required tools. There’s no Dutch oven and no proofing basket needed. Here’s what you need!
Another feature of this baguette recipe is that all you need is all-purpose flour! Our other bread recipes use flour blends like whole wheat and bread flour. Baguettes are surprisingly simple: requiring only all-puprose flour, salt and yeast.
This recipe makes 2 loaves: halve it if desired!
This baguette recipe makes 2 loaves of bread. If you don’t think you’ll eat two in a few days, here are some options:
Make half the recipe. It works just as well with half the quantities: you can follow the recipe to a T.
Freeze the second baguette. You can freeze the second baguette for several months, then reheat it from frozen. It comes out a little crustier but the flavor is just as good! See the “Storage” section below.
Think ahead! A 2 day rest is required.
We said it once, but we’ll say it again. This bread requires thinking ahead a few days. You’ll need to rest the bread dough for 2 days in the refrigerator. Why?
The 2 day rest makes a complex, tangy flavor. Resting the dough in the refrigerator is also called “fermenting”. As the dough ferments, it develops a naturally tangy and complex flavor. (We also suggest this with our best pizza dough.) You can truly taste the difference!
It doesn’t have to be exactly 48 hours. There is some wiggle room, so don’t worry if you do about 1.5 days instead of a full 2 days on the rest time.
How to shape a baguette (video!)
The part of making this baguette recipe that requires the most technique is folding and shaping the dough. It’s easiest to learn how to shape the dough by watching. So, we made you a video! Here’s Alex demonstrating how to shape a baguette. We highly recommend watching this video before you start!
How to score a baguette
See those beautiful lines on the top of the baguette? Those are called score lines. Scoring is slashing the top of the dough with a sharp knife to allow it to expand when baking. Here are some things to know about scoring the baguette (also watch the video above):
Use your sharpest knife, or a lame. You’ll want the knife to be ultra sharp. We purchased a lame for this, since we make lots of bread recipes. But a knife works just as well!
Make shallow, diagonal overlapping cuts. You want to cut just the surface — if it’s too deep it collapses, if it’s too shallow it bursts. Make the pattern look like the one in the video above, where the cuts overlap diagonally.
Storage & reheating info for this baguette recipe
This baguette recipe has no preservatives, so the storage is different from a bread you might buy from the store. Since this recipe makes two loaves, you can freeze the second one and eat it later! It comes out a little crustier than the day of baking, but it’s still fantastic and the flavor is perfectly preserved. Here’s what to do:
Room temperature storage (2 days): Once you’ve baked your French baguette, it is best eaten within 48 hours. Store it wrapped in a towel at room temperature.
Frozen (3 months): Let the baguette cool to room temperature, then wrap it in aluminum foil and place it in a plastic bag. Freeze for several months.
Reheating: Preheat the oven to 325 degrees Fahrenheit. Unwrap the baguette and add directly to the oven grate (from frozen!) and bake about 15 to 20 minutes until warmed through.
Ways to serve this baguette
There are so many ways to serve a baguette! Likely you already have ideas. Here are some of our favorites, including some ways to use stale bread:
On a cheese board. See above! Add a variety of cheeses, olives, nuts, and jam and you’ve got one incredible cheese board for entertaining.
With salted French butter. One of the very best taste treats: this baguette with salted French butter. Look for French or European-style butter at your local grocery.
Garlic toast. Another idea for Day 2, make it into this insanely garlicky Garlic Toast.
Breadcrumbs or croutons. If you get to the point where it’s pretty stale, make it into breadcrumbs or croutons! You can also use it for panzanella or bread soup.
Day 1: Make the dough (15 minutes active, 45 minutes inactive)
Mix the dough: Combine the flour, salt, and yeast in a bowl or the bowl of your stand mixer. Stir to combine. Add the water and stir until a raggy dough forms. Turn the dough out onto a floured surface.
Knead the dough: Knead the dough by pushing with the base of your palm, then reforming it into a ball. Continue kneading for 8 minutes until the dough feels pillowy and has a smooth, stretchy exterior. If the dough is very sticky, add a small amount of flour while kneading. Resist the urge to add lots of flour. Alternatively: attach the dough hook to a stand mixer and start the mixer on medium-low speed, then allow the mixer to knead for 8 minutes.
Proof 45 to 60 minutes: After the kneading is finished, form the dough into a ball and return to the bowl. Proof until doubled in size, about 45-60 minutes. Divide dough into two equal pieces. Gently shape each half into a boule (ball shape) by folding the dough under itself. Place each dough into a separate covered container, with room for the dough to double in size.
Refrigerate 2 days: Place containers in the refrigerator for 2 days to ferment (this is where all the flavor comes from!).
Proof 1 hour: When ready to bake, remove the dough from the refrigerator. Place dough onto lightly floured counter and pull ends under dough to form a boule shape (watch video for this and all following steps). Repeat with second dough. Cover with towel and rest 1 hour.
Fold the dough & rest 10 minutes: After an hour, flip the dough over and pull out the left and right ends. Fold the ends into the center of the dough and gently roll into a log. Pinch the seams on the sides. Be careful not to press too hard while rolling to avoid deflating the dough. Repeat with second dough. Cover with a towel and rest for 10 minutes.
Pre-shape the dough & rest 5 minutes: Sprinkle the doughs with flour. Flip the dough and pat it gently into a rectangle. Fold in half and use the heel of your hand to pinch the seam and form a log shape. Flip and repeat the process. Repeat with second dough. Cover with towel and rest 5 minutes.
Shape the dough & proof 45 minutes: Place a clean towel on a baking pan and dust it heavily with flour. Starting from the center of the dough, use your hands to roll the dough into a long baguette shape the almost the length of your pan. Make sure to roll your hands all the way past the ends of the dough to create the tapered point. Carefully transfer the dough to the floured towel and tuck it on both sides to provide support. Repeat with second dough. Cover with a towel and proof for 45 minutes.
Preheat the oven: Meanwhile, preheat the oven to 475 degrees Fahrenheit. Place a cast iron pan or your thickest baking sheet on the rack just below and off to the other side of oven. You’ll pour water into it later to create steam.
Score the bread: After proofing, carefully move each dough out of the towel and transfer it directly onto the pan. Ensure the dough is straightened and dust it lightly with flour. Use a sharp knife or lame to score each bread 4 times at a slight diagonal, just overlapping pattern.
Bake at 475 degrees: Place the tray in the oven and add steam: cover your hand with a towel and very carefully pour 1 cup of water onto the cast-iron pan or baking sheet, then immediately close the door. Bake 16 minutes and then reduce the oven temperature to 400 degrees.
Bake at 400 degrees: Open the oven door and fan it a few times to release moist air. Bake for 23 to 25 minutes until golden brown. Cool on a wire rack at least 20 minutes before serving.
Storage instructions: Store at room temperature wrapped in a towel for up to 2 days. To preserve the second loaf, you can freeze it: wrap in foil and place in a plastic bag. Store for several months in the freezer. To reheat, bake from frozen for 15 to 20 minutes at 325 degrees Fahrenheit.
Notes
*If you’d like only 1 loaf, cut the quantities in half. The recipe works just as well!


 Posts
Posts




 Prep Time: 15 minutes
 Yield: 4
 Print Recipe
 Pin Recipe
 Category: Salad
 Method: Raw
 Cuisine: Vegetarian




 Pin Recipe


 Pin Recipe