Easy Steamed Broccoli

Steamed broccoli is the very definition of easy! This healthy side dish is the epitome of simple: it turns out bright green and crisp tender every time.

Steamed broccoli

Ready for what might be the easiest side dish recipe ever? OK maybe a little exaggeration, but it’s the closest we’ve come (outside of these green beans). This one has it all: it’s healthy, delicious, and takes only 5 minutes to cook. Steamed broccoli might sound a little drab, right? But let us assure you: a drizzle of olive oil, a few red onion slivers and salt turn this humble veggie into something stellar. Alex and I are often looking for simple sides, and this one is now in our “pair with everything” repertoire.

Steamed broccoli

How to make perfectly steamed broccoli

Steamed broccoli is super quick and simple: the main adage is don’t be temped to overcook it! Steaming it for 3 to 5 minutes results in broccoli that’s bright green and crisp tender. Cooking even a few minutes past that goes from bright and crisp to faded and mushy. Here are our tips on how to steam broccoli.

Gear required: You’ll need a steamer basket or steamer pan to make this recipe. Here’s a steamer basket you can buy online.

Step 1: Chop the broccoli into florets.

Chop the broccoli into bite-sized pieces. Note that thicker pieces and larger florets will take slightly longer than smaller and thinner, so try to make them as uniform as possible.

Broccoli

Step 2: Bring water to a boil.

Rule number one of steaming vegetables: bring the water to a boil first! Don’t be tempted to just throw everything in the steamer and bring the water to a boil. You’ll boil the water in a saucepan or pot before you add the veggies.

Steamed broccoli

Step 3: Add the broccoli, cover, and steam for 3 to 4 minutes, until crisp tender.

Once boiling, add the broccoli in the steamer basket and cover the pot with a lid. (If your steamer doesn’t have a handle, you should place it in the pan before boiling the water, then add the brocolli once boiling.) Steam with the lid on 3 to 4 minutes until just tender: test a piece with a fork. It will be slightly different every time based on the thickness and age of the broccoli (tender, young broccoli from a farmer’s market will take less time).

Alex and I like our broccoli on the crisp side, so that’s what you’ll get in this recipe. If you’d like it more tender, cook 1 minute more. Just be careful not to cook much longer or the color will immediately fade and it will become mushy and overcooked!

How to steam broccoli

Step 4: Drain and season.

Carefully remove the broccoli to a bowl. Toss with olive oil, kosher salt, feta cheese (optional), and red onions. As noted in the recipe below, we like to soak our red onions in water for a few minutes, which helps to reduce onion breath and remove a bit of the “spice”. You can do this while you cook the broccoli: it only needs a few minutes.

Steamed broccoli

How to season steamed broccoli

Once your broccoli is perfectly steamed, there are many ways to season it. In this recipe, we accessorized with red onion for a little shape and color contrast. Then it’s mixed simply with olive oil and salt and pepper. Adding feta cheese crumbles takes it from good to great, and it’s one of our favorite ways to eat broccoli.

If you don’t use this idea, there are literally hundreds of way to season broccoli. Here are a few more ideas:

  • Olive oil and some grated Parmesan or Pecorino cheese
  • A shake of rice vinegar and sesame seeds
  • Drizzle of balsamic reduction
  • Lemon zest
  • Slivered toasted almonds
  • Goat cheese or feta crumbles
  • Minced garlic
  • Panko and dried herbs

Want more easy side dish recipes?

And that’s it! How to make the best steamed broccoli. We used it all the time to pair with everything from meatloaf to salmon to shrimp to pasta. If you’re looking for other sides to add to your repertoire, a few more we might recommend:

This steamed broccoli recipe is…

Vegetarian and gluten-free. For vegan, plant-based, and dairy-free, omit the feta.

Print
Steamed broccoli

Easy Steamed Broccoli


1 Star2 Stars3 Stars4 Stars5 Stars (5 votes, average: 5.00 out of 5)

  • Author: Sonja Overhiser
  • Prep Time: 5 minutes
  • Cook Time: 5 minutes
  • Total Time: 10 minutes
  • Yield: 4

Description

Steamed broccoli is the very definition of easy! This healthy side dish is the epitome of simple: it turns out bright green and crisp tender every time.


Ingredients

  • 1 1/2 pounds (2 large heads) broccoli
  • 1/4 cup red onions, thinly sliced (or substitute green onion)
  • 2 tablespoons olive oil
  • 1/2 teaspoon kosher salt
  • 1/4 cup feta cheese (optional)
  • Freshly ground black pepper

Instructions

  1. Chop the broccoli into florets.
  2. If using, thinly slice the onion. Place it in a bowl of water while you’re making the rest of the recipe, then drain. (This helps to reduce onion breath and remove some of the spicy bite. If you use green onion, skip this step!)
  3. Place 1 1/2 cups water into a saucepan or pot and bring it to a boil.
  4. Once boiling, add the broccoli in the steamer basket. Steam with the lid on 3 to 4 minutes until just tender (test with a fork). We like our broccoli on the crisp side: if you’d like it more tender, cook 1 minute more. Just be careful not to cook much longer or the color will immediately fade and it will be overcooked!
  5. Carefully remove the broccoli to a bowl. Toss with the olive oil, kosher salt, feta cheese (optional), and drained red onions. Top with freshly ground black pepper.

  • Category: Side Dish
  • Method: Steamed
  • Cuisine: Vegetables

Keywords: Steamed Broccoli, Easy Steamed Broccoli, Easy Side Dish Recipe

A Couple Cooks - Healthy, Whole Food, Vegetarian Recipes


from A Couple Cooks https://ift.tt/2NMKmHm
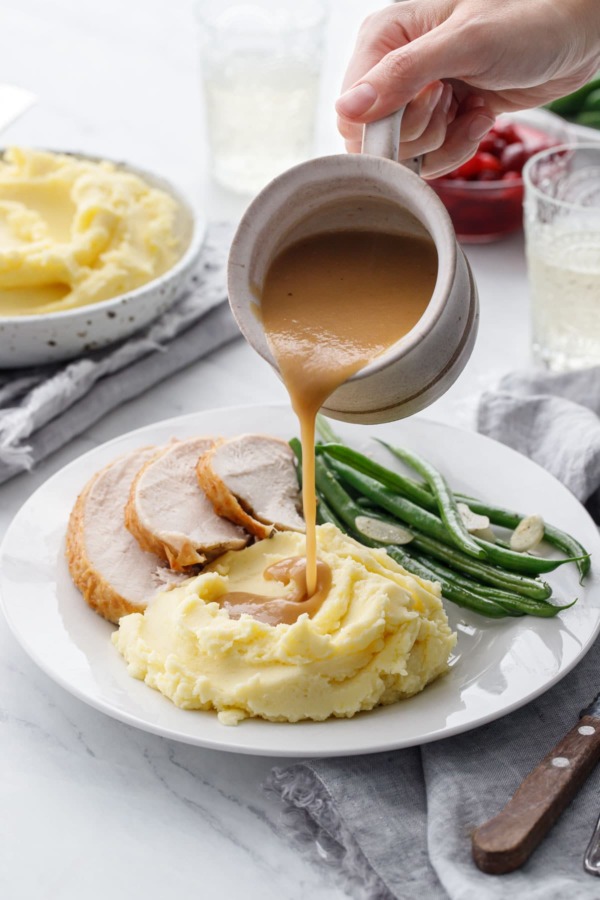
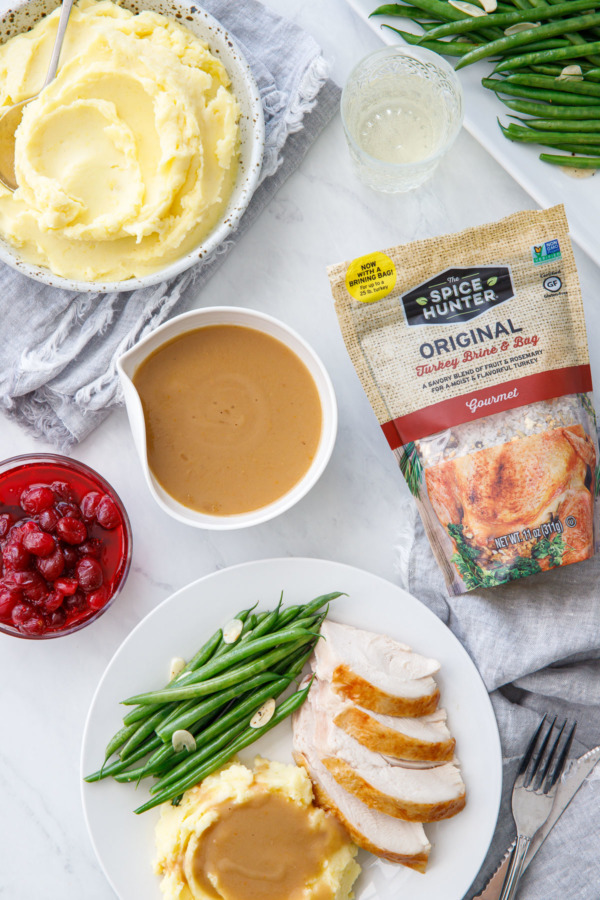
How to make Perfect Gravy from a Brined Turkey

I love brined turkeys—they are always incredibly moist, flavorful and juicy. But most gravy recipes out there use the pan drippings, which in the case of brined turkeys can make your gravy unbearably salty if you’re not careful.

That doesn’t mean you have to choose between a moist and juicy bird or a robustly flavorful gravy. By following our helpful tips and tricks for making perfect gravy with a brined turkey, you can have the best of both worlds!

How to make Perfect Gravy with a Brined Turkey

As much as we love brined turkeys, they do have one unfortunate side effect: overly salty gravy. Since much of the salt from the brine is absorbed into the turkey (this is what makes brined turkeys so moist and flavorful), some of that salt water, along with the fat and juices from the turkey, drips into the bottom of the roasting pan as the turkey bakes. Most traditional gravy recipes use these pan drippings as a base, which can make the resulting gravy undesirably salty.

Our secret to perfect homemade gravy from a brined turkey is threefold: homemade turkey stock, a golden brown roux, and strategic use of the turkey drippings.

So rather than start with a panful of drippings like most recipes do, start with your turkey stock (this will make up the bulk of your gravy), then add your drippings, a little at a time, until the gravy is suitable to your tastes. The roux is what thickens the gravy into a luxurious, silky smooth blanket to smother your Thanksgiving plate.

When you brine a turkey, it can often make the gravy extra salty. Follow these tips to make sure that doesn't happen!

The actual saltiness (as well as the total quantity) of your turkey drippings will vary quite a bit depending on the size and fattiness of your turkey, your specific brine recipe, as well as your cooking method.

We used The Spice Hunter’s Original Turkey Brine, which simplifies the brining process immensely (just dissolve the brine mixture in water, chill, then cover your turkey in the included bag—so easy!)

We then roasted our turkey with a little bit of water in the roasting pan to keep the drippings from burning (keep an eye on it as it bakes and add more water as needed). Using more water means you’ll have more drippings, but they won’t be quite as concentrated.

(more…)


from Love and Olive Oil https://ift.tt/2oZC6eE

Instant Pot Thanksgiving Recipes

Bust out your pressure cooker on holidays: it saves valuable stove and oven space! Here are the very best Instant Pot Thanksgiving recipes everyone will love.

Instant Pot Mashed Potatoes

The best time to use a pressure cooker? Thanksgiving! Yes, the Instant Pot is a genius extension of your kitchen for holiday cooking. While your oven and stovetop are occupied cooking other things, the Instant Pot can be making up a monstrous batch of mashed potatoes. Or cooking an apple crisp. Or making green bean casserole.

Yes, the Instant Pot is perfect for holiday cooking. (Did we mention it’s portable?) This year, we’ll be making a few of these Instant Pot Thanksgiving recipes for our various celebrations. Each and everyone of them is so, so delicious, they’re sure to become family favorites in no time. While most of these recipes are Thanksgiving sides, the stuffed squash would be a fabulous main dish. And don’t forget dessert! We’re starting to get hungry over here…

Best Instant Pot Thanksgiving recipes!

One of the very best Instant Pot Thanksgiving recipes? These perfectly creamy, fluffy mashed potatoes. Yes, mashed potatoes are so much easier in a pressure cooker! You don’t have to worry about them boiling over on the stovetop, or keep testing them to see when they’re done. Nope, just throw them in your pressure cooker and press Go! It also gets that massive pot off the stove top make way for all your other Thanksgiving prep.

Continue Reading

Here's an Instant Pot Thanksgiving spin on the 1950's classic green bean casserole! And this ain’t your mama’s green bean casserole: it's a fresh spin made all from scratch! It’s got crisp tender green beans and real mushrooms. The creamy sauce coats each of the beans, but isn’t gloppy. And it’s got a new take on the traditional fried onion topping: using crushed potato chips!

Continue Reading

Here's a standout Instant Pot Thanksgiving recipe that works as a vegetarian main dish or a side dish, too! Tender, creamy acorn squash is draped with a savory, herb-laden pecan and rice stuffing that truly makes your kitchen smell like a fall wonderland. Really! 

Continue Reading

Instead of sugary marshmallow sweet potatoes for Thanksgiving, how about savory mashed instead? These Instant Pot mashed sweet potatoes have just the right fluffy texture. The secret? They're combined with Yukon gold potatoes to give them that classic texture. Add garlic and top with chives, and they'll be a hit with everyone around the table.

Continue Reading

Can you make Instant Pot Brussels sprouts? Roasted Brussels sprouts is our very favorite to eat these powerhouse vegetables. The oven makes them tender on the inside and crispy on the outside. Turns out, Instant Pot Brussels are delicious too! They come out crisp tender and mixed with butter, chives, and Parmesan cheese, they’re seriously flavorful.

Continue Reading

May we present: Instant Pot butternut squash soup! It's spiced with sage, with a hint of cinnamon and a smoky undertone. The squash and carrot give it an electric orange hue, and it's rounded out with potato and apple for sweetness. Really, it's pure gold in a bowl! It's a star in our comforting butternut squash recipes.

Continue Reading

The sweet, earthy flavor of beets pairs perfectly with the tang of a balsamic dressing. Here, we’ve used our favorite Best Balsamic Dressing: which takes just 5 minutes and 5 ingredients. The balance of tangy, sweet and savory in this dressing is mind-blowing. Make this with quick Instant Pot beets, which take only about 30 minutes to cook: half the time of roasting them in the oven!

Continue Reading

Let us introduce the best easy Thanksgiving side dish: Instant Pot green beans! They’re super quick to put together and the zesty lemon flavor makes them a crowd pleaser. Because they’re steamed in the pressure cooker, they make space on the stovetop and oven for cooking the main dish! They take only 10 minutes to make: a speed record for the holidays!

Continue Reading

Why not finish this list of Instant Pot Thanksgiving recipes with something sweet? This apple crisp cooks up in minutes, leaving the oven clear for holiday baking (the turkey, perhaps?). It's topped with organic granola for the crumble, and comes out sweet and cozy. A little lemon zest adds some zing, and melty vanilla ice cream puts it over the top.

Continue Reading
Print
Mashed sweet potatoes

Instant Pot Thanksgiving Mashed Sweet Potatoes


1 Star2 Stars3 Stars4 Stars5 Stars (No Ratings Yet)

  • Author: Sonja Overhiser
  • Prep Time: 15 minutes
  • Cook Time: 30 minutes
  • Total Time: 45 minutes
  • Yield: 12

Description

The pressure cooker is perfect for holidays: it saves valuable stove and oven space! These Instant Pot Thanksgiving mashed sweet potatoes are perfectly creamy and sweet-savory: everyone will love them!


Ingredients

  • 3 pounds sweet potatoes*
  • 3 pounds Yukon gold potatoes
  • 1 1/2 cup water
  • 1 tablespoon kosher salt
  • 1/2 cup heavy cream or half and half (or sub non-dairy milk for vegan)
  • 1 clove grated garlic
  • 1/4 teaspoon ground black pepper
  • Thinly sliced chives, for garnish (optional)

Instructions

  1. Peel the potatoes, then cut them into large chunks.
  2. Add the potatoes to the Instant Pot. Add the kosher salt and the water. Lock the lid. Place the pressure release handle (vent) in the “Sealing” position.
  3. Cook on High Pressure for 12 minutes: Press the Pressure Cook button, making sure the “High Pressure” setting is selected, and set the time. Note that it takes about 20 minutes for the pot to “preheat” and come up to pressure before it starts cooking. (During cooking, avoid touching the metal part of the lid.)
  4. Quick release: Vent the remaining steam from the Instant Pot by moving the pressure release handle to “Venting”, covering your hand with a towel or hot pad. Never put your hands or face near the vent when releasing steam. Open the pressure cooker lid.
  5. Mash the potatoes with a potato masher directly in the Instant Pot. Then stir in the cream, grated garlic, and black pepper to the hot potatoes. Taste, and adjust seasonings as desired. Garnish with chopped chives and fresh ground pepper.

Notes

*This amount makes 12 servings and is intended for a crowd. If you’d like to make less, you can half the recipe without affecting the cook time.

  • Category: Side Dish
  • Method: Pressure Cooker
  • Cuisine: Thanksgiving

Keywords: Instant Pot Thanksgiving

What Instant Pot do you use?

All of these Instant Pot Thanksgiving recipes have been tested using an Instant Pot 6 Qt Multi-Use Programmable Pressure CookerThere is definitely variation between pressure cooker brands and sizes, so you may see some variation in cook time depending on the brand and size you’re using.

Understanding Instant Pot cook time

When you look at cook time with any pressure cooker, you’ll need to factor in a few more things than just the actual cook time. Keep the following in mind:

  • “Preheat” time: Once you add the ingredients to the pot, the pressure cooker requires time to come up to pressure. This time can vary depending on the recipe. Alex and I make sure to state it clearly in each of our Instant Pot recipes, so you know how long they’ll take overall.
  • Natural release: Some recipes call for a Quick Release: here you’ll immediately release the pressure and open the lid. But some recipes call for a Natural Release method, where you wait with the cover on after the cook time for the pressure to naturally release from the pot. Make sure to factor this time in when you’re planning your recipes, not just the cook time.

A note about the sealing ring

The plastic sealing rink inside the pressure cooker lid can pick up odors after cooking. Make sure to clean it fully after using it, and allow it to dry separately from the lid. A good practice is to store the Instant Pot with the lid upside down so the sealing ring is exposed to air, instead of with the lid closed onto the pot. This allows the sealing ring to air out between uses.

To remove the smell from an Instant Pot sealing ring, soak it in vinegar for a few hours. Another option is purchasing two sealing rings. We purchased 2 Instant Pot sealing rings and use one for savory recipes and one for sweet recipes. This is especially helpful if you’re making something like the apple crisp above.

A Couple Cooks - Healthy, Whole Food, Vegetarian Recipes


from A Couple Cooks https://ift.tt/2Nnqn31

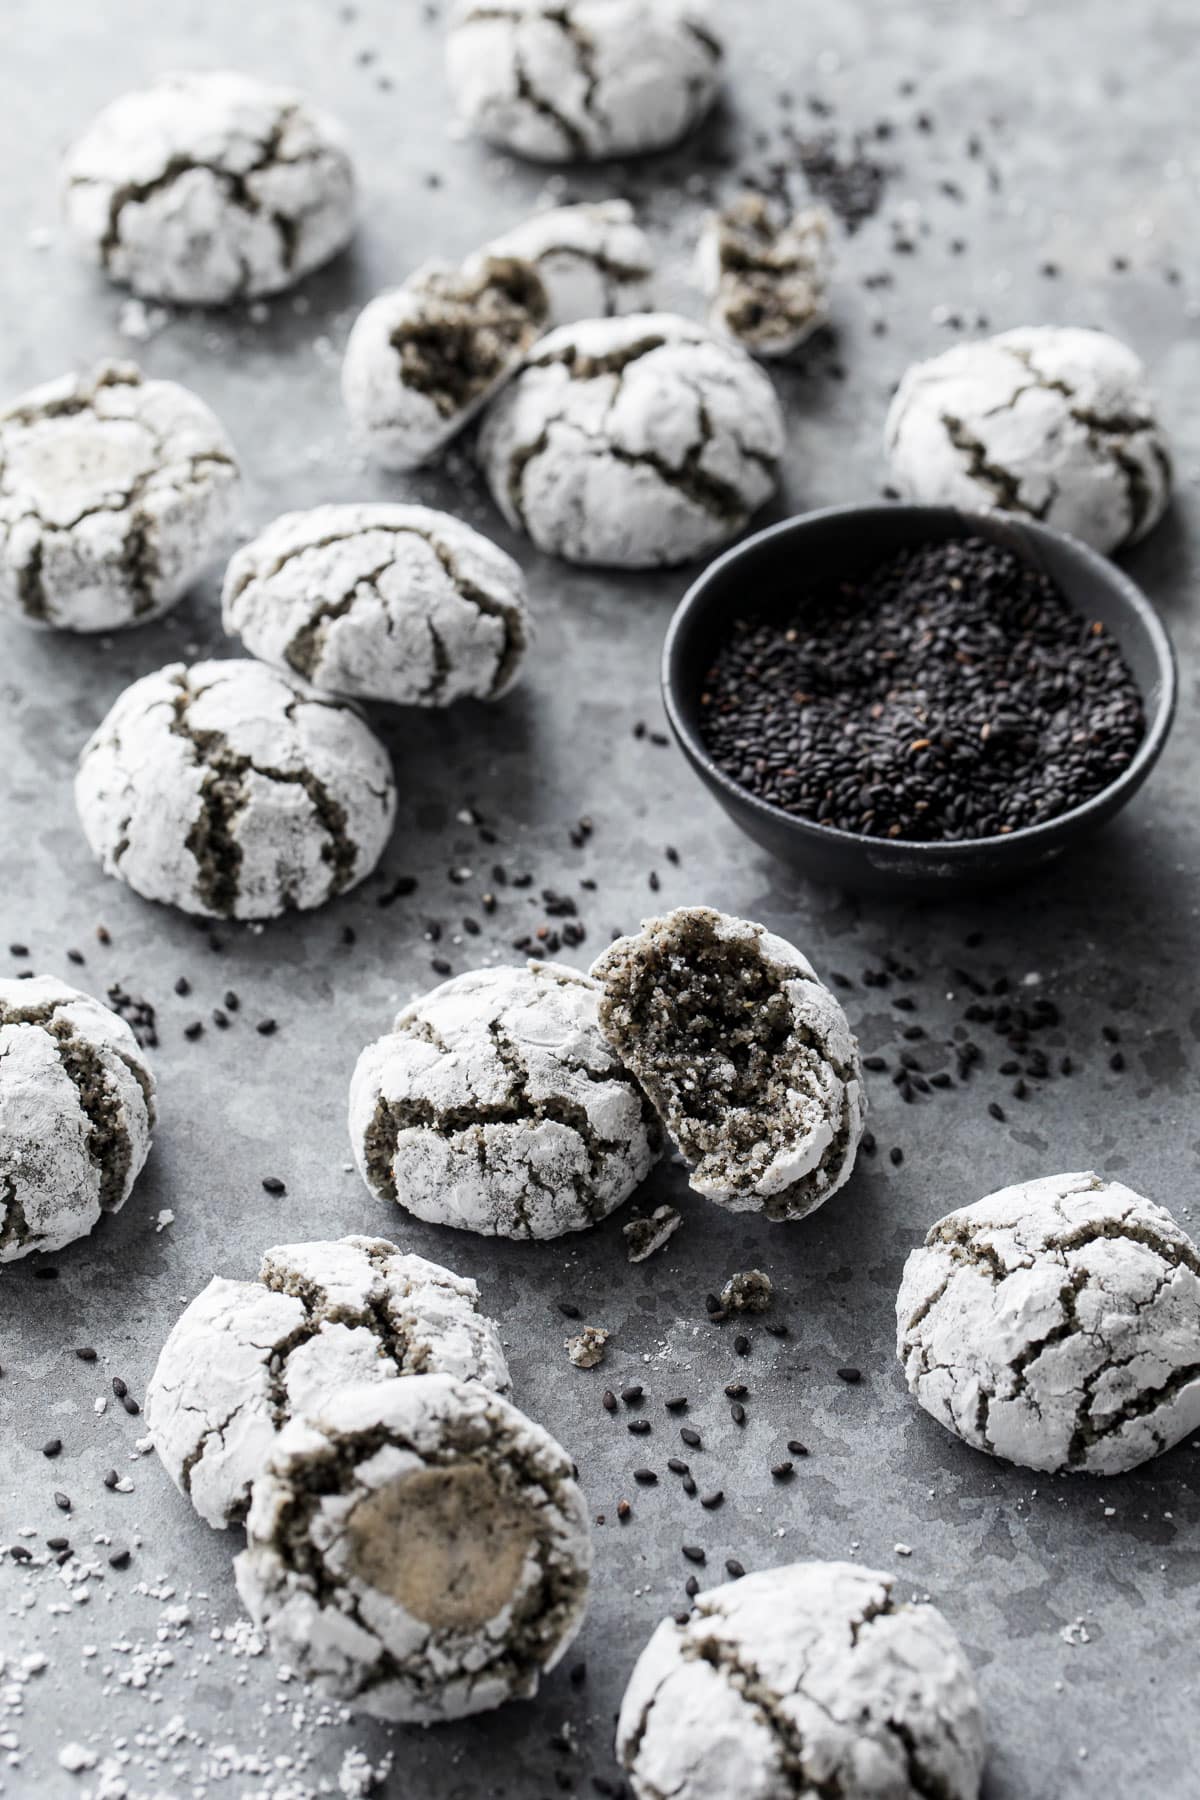
Black Sesame Amaretti Cookies

Amaretti are some of my favorite cookies for a reason: they are ridiculously simple to make, with only 3 main ingredients—plus the black se...