Nothing’s more festive than bubbly champagne cocktails! They’re easy to make, and add class and style to any celebration.

Are you ready to celebrate? Champagne has been a festive drink for centuries. Of course, you can just pop the cork and drink it straight up (which Alex and I do, often!). But why not try a champagne cocktail? The tangy, bubbly sparkling wine is perfect with all sorts of flavors, from lemon to St Germain to cranberry. Even just adding one or two ingredients to champagne really alters the flavor and adds depth. And of course, holding a glass says, “Hey, I’m someone with sophistication and class!” Ready to toast?
And now… the best easy champagne cocktails to try!

This isn’t just an champagne cocktail, it’s THE champagne cocktail. Yes, the Champagne Cocktail is a classic recipe on the International Bartender's Association list of IBA official cocktails. It's a thing. Even better: it's tangy and refreshing, perfect for sipping with a little nuance from the angostura bitters and lemon. The best part: Adding a sugar cube to champagne makes a fountain of bubbles that positively sparkles! Are you celebrating something? Because this is the drink for you.

Here’s a drink that’s made for celebration: a St Germain champagne cocktail! It’s sophisticated and refreshing: floral, botanical, tangy, and bubbly all at once. If you’ve never purchased a bottle of St Germain, now’s the time! It's a liqueur made with elderflowers, the small white flowers of an elderberry plant. This bottle of fancy liqueur should be part of your alcohol arsenal: it's perfect for cocktails of all kinds! But this particular champagne cocktail is our favorite.

Move over cosmos: there's a new cranberry cocktail in town! This cranberry champagne cocktail has a brilliant color and cozy vibe, and the flavor is tart and refreshing. While it's most suitable during fall and winter, you can serve it any time of the year, too! It uses only a few simple ingredients: cranberry juice (make sure to find 100% juice), cointreau, and champagne.

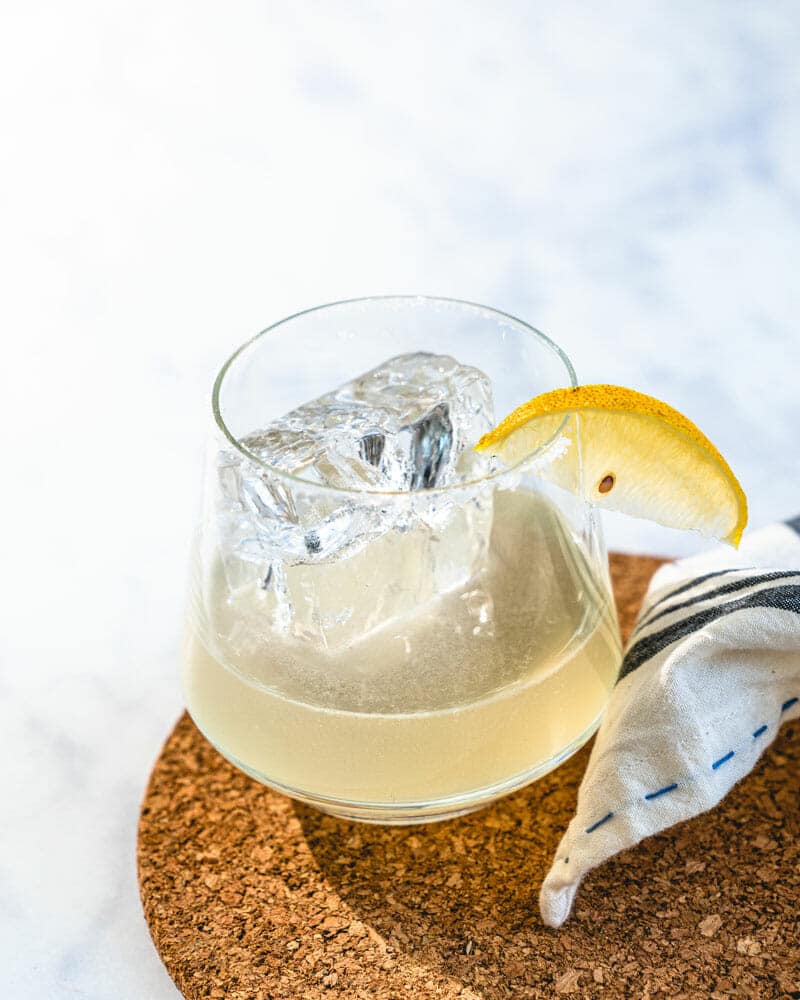
Here’s one of the most sophisticated and refreshing cocktail recipes out there: a French 75! It’s got a mysterious name, but it’s made with a few simple ingredients. It’s tangy, bubbly, and a bit botanical. Perfect for entertaining, use it as a brunch drink or a dinner party with friends. Really, any occasion is better with this drink in hand! The flavors are simple and classy: gin, lemon juice, simple syrup, and Champagne.
When to serve champagne cocktails
The champagne cocktails are so festive, they work well for almost any occasions! Here are some times we can imagine serving them, though it’s not an exhaustive list! Champagne cocktails are perfect as a:
- New Year’s Eve drink
- Christmas or holiday drink
- Bridal shower drink or bachelorette party drink
- Girls night drink
- Celebration drink (job, anniversary, baby, etc!)
- Dinner party drink
- Romantic dinner drink
- Brunch drink (Mother’s Day, etc)
What type of champagne should I buy?
With champagne and most alcohol, the higher the quality, the better the flavor. We use the rule: buy something in the medium price range, and you’re usually safe. That is: don’t buy the cheapest bottle. But don’t go overboard on the most pricey one either! Usually middle of the road in price is a good quality bottle.
Also, make sure to buy “Brut”, which means dry. If you’d like to geek out more on champagne, head to 5 Things to Know About Buying Champagne.
Print
“The” Champagne Cocktail
 (5 votes, average: 5.00 out of 5)
 Prep Time: 5 minutes
- Cook Time: 0 minutes
- Total Time: 5 minutes
 Yield: 1 drink
Description
The Champagne Cocktail is a classic drink that’s festive and elegant, perfect for celebration. The sugar cube makes it sparkle!
Ingredients
- 1 sugar cube
- 5 dashes Angostura bitters
- Squeezed lemon peel
- 1 glass champagne (10 tablespoons)*
- For the garnish: Lemon twist
Instructions
- Make the lemon twist garnish, if using.
- Add a sugar cube to bottom of a champagne flute**. Add 5 dashes of bitters to the sugar cube. Use a vegetable peeler to peel off a small strip of lemon skin. Squeeze the lemon skin into the flute to release the oils.
- Fill the glass with champagne and serve immediately: watch how the sugar cube makes the bubbles sparkle! Garnish with a lemon twist if desired (here’s how to make a lemon twist).
Notes
*You’ll get about 5 drinks per 1 bottle of champagne. **You can also serve this drinks on the rocks in a cocktail glass. Follow the same instructions, just place the ice in the glass with the sugar cube, then top with champagne. The drink will have a more subtle flavor.
 Category: Drink
 Method: Cocktail
 Cuisine: Cocktails
Keywords: Champagne Cocktails
A Couple Cooks - Healthy, Whole Food, & Vegetarian Recipes
from A Couple Cooks https://ift.tt/36aWidS