Best Oatmeal Recipe (Vegan & GF)

Here’s the very best oatmeal recipe that we make every day, vegan and plant based with tasty peanut butter and jelly toppings!

Best Oatmeal

What do you really eat? People ask us that a lot. Well, Alex and I have eaten every single recipe on this website! (And many more that don’t make the cut.) But today we wanted to share something we eat on a regular basis. I actually make this recipe every single day. And that is not hyperbole, friends! I really do. Why? This best oatmeal recipe tastes incredible. It’s vegan so it’s a plant based way to start the day. AND it is full of plant based protein so it is seriously filling: you’re literally full for hours after you eat it.

Vegan oatmeal

What makes this the best oatmeal?

I know, oatmeal sounds deceptively easy to make. But it can come out too gummy, too bland, or take way to long. What’s the best way to make it at home? This is my soulmate oatmeal, the recipe I have memorized and could make in my sleep. Here are the features of this best vegan oatmeal.

  • Perfect chewy texture. Take note! This recipe is not the typical creamy texture, or soupy or gummy. The texture is chewy, much like our Toasted Oatmeal. It will surprise you if you’re a creamy oatmeal person, but it will also make you never go back.
  • Toasted oats. The oats are toasted in coconut oil to bring out their nutty flavor. It’s got just a hint of cinnamon and just enough salt.
  • Totally vegan / plant based. We revamped our toasted oatmeal to remove the butter and milk. And guess what? It’s just as good.
  • Best oatmeal toppings. The very best topping for oatmeal is peanut butter, in our minds! It packs it with plant based protein. And we added another feature…keep reading!
PB&J oatmeal toppings

Why vegan oatmeal?

Oatmeal is a total powerhouse breakfast or lunch. (Honestly, I eat it for lunch most often!) Oats are packed with nutrients and protein. Plus, they’re easy to make vegan! Why do we care about vegan / plant based breakfasts? Well, we love eating mostly plant based recipes. And breakfast and lunch are a really easy place to do it! This best oatmeal recipe is a great way to dip your toe into plant based eating, if you’re looking to do so.

Best oatmeal

The best oatmeal toppings

It’s easy to use oatmeal toppings that are plant based, too! We topped this best oatmeal with our favorite toppings: all natural peanut butter and jelly! Here’s what we used, and a few more of our favorite toppings:

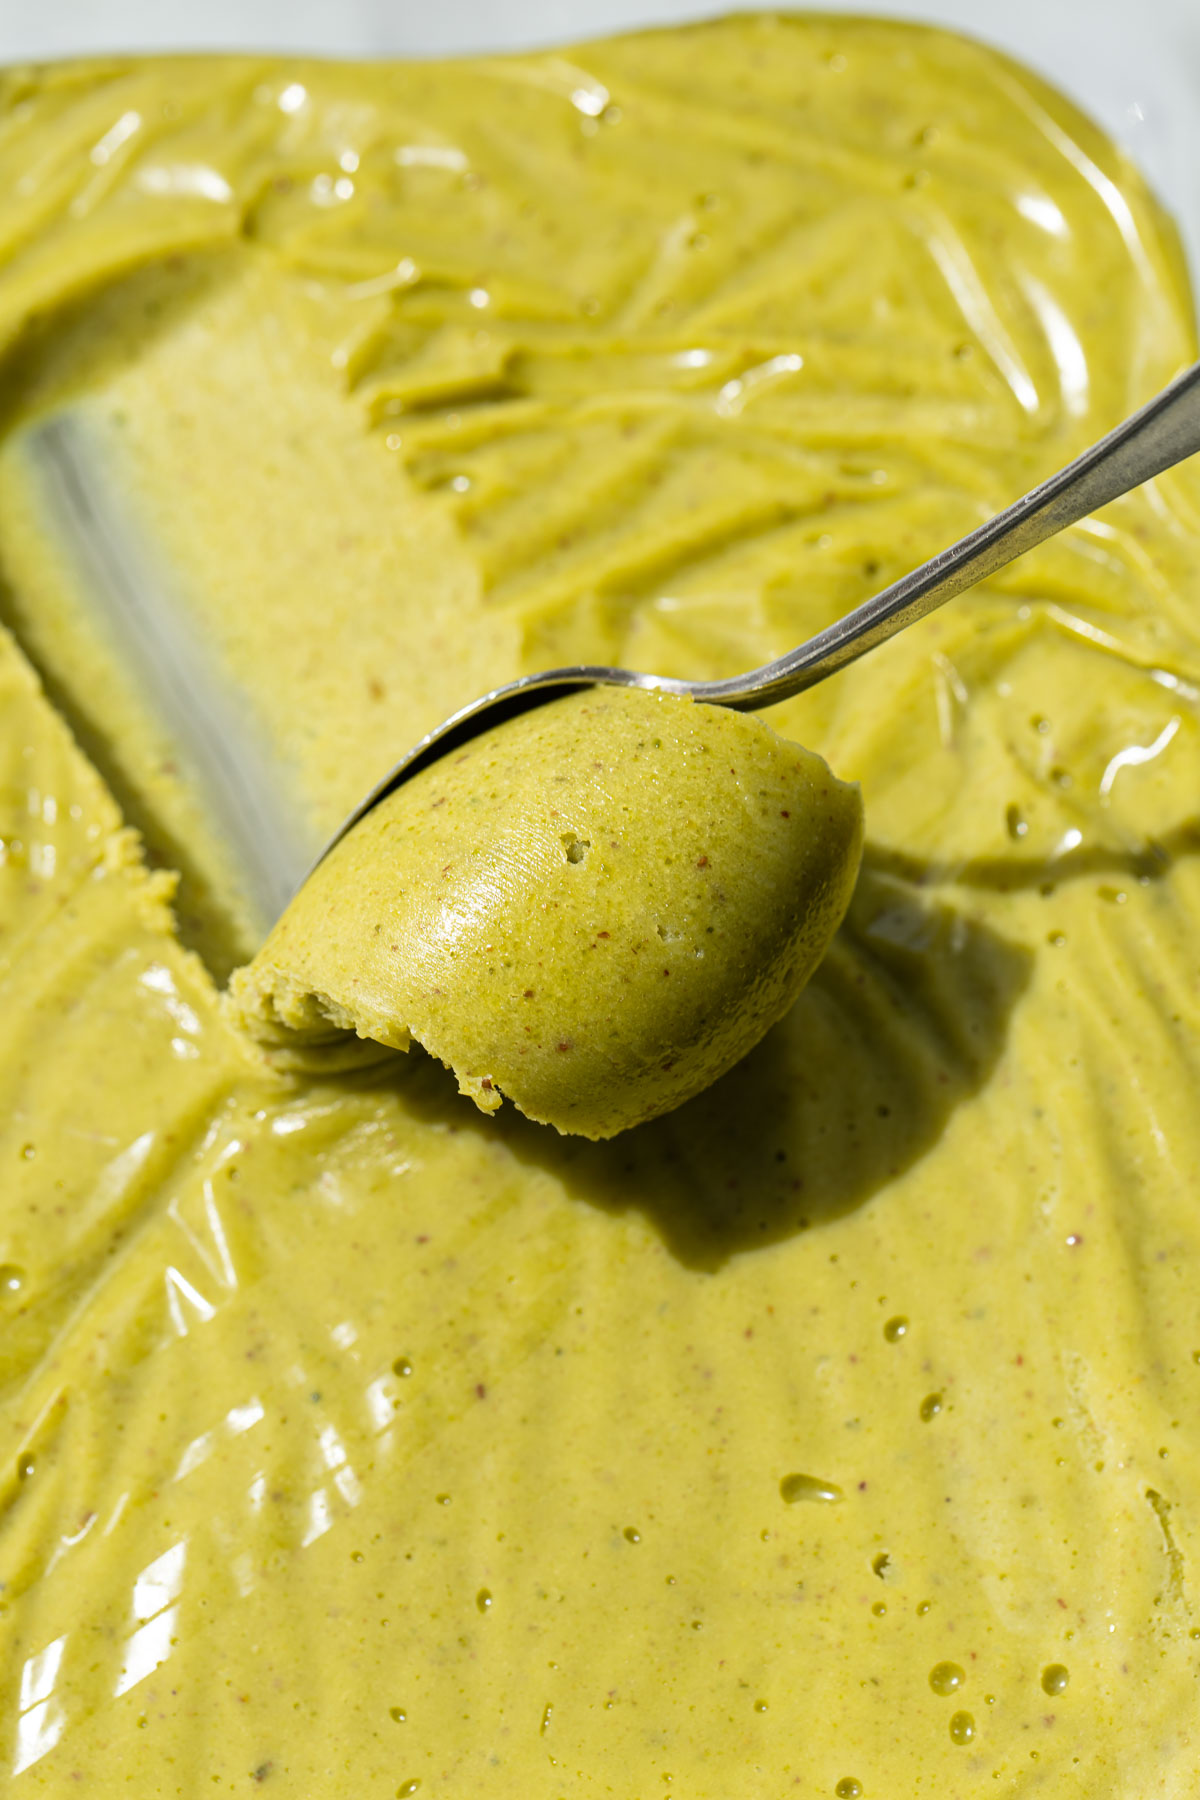
  • All natural peanut butter: try to find a brand with no added sugar.
  • Easy strawberry jam: This recipe is quick and easy to make, and results in a vegan jam that’s sweetened with maple syrup and a little tangy from lime zest. It’s SO good!
  • Other topping ideas: Roasted and salted pepitas, almonds, walnuts, almond butter, cashew butter, berries, apple slices, plain yogurt sweetened with maple syrup

Oats nutrition

There are lots of great things about eating this oatmeal recipe. According to the Harvard TH Chan School of Public Health, oats:

  • Are high in fiber
  • Can reduce the risk of heart disease
  • Can be helpful for weight control
Pan of oatmeal

This best oatmeal recipe is…

Vegetarian, gluten-free, vegan, plant-based, and dairy-free.

Print
Best Oatmeal

Best Oatmeal Recipe (Vegan & GF)


1 Star2 Stars3 Stars4 Stars5 Stars (5 votes, average: 5.00 out of 5)

  • Author: Sonja Overhiser
  • Prep Time: 0 minutes
  • Cook Time: 10 minutes
  • Total Time: 10 minutes
  • Yield: 3

Description

Here’s the very best oatmeal recipe that we make every day, vegan and plant based with tasty peanut butter and jelly toppings!


Ingredients

  • 1/2 tablespoon coconut oil
  • 2 cups rolled oats
  • 1/4 teaspoon kosher salt
  • 1/4 teaspoon cinnamon
  • 1 1/2 cups water
  • For toppings: All natural peanut butter, Easy Strawberry Jam

Instructions

  1. Melt the coconut oil in a saucepan over medium heat. Add the oats and toast for about 2 to 3 minutes, stirring often, until fragrant.
  2. Add the salt and cinnamon. Remove the pan from the heat and carefully pour in the water, adding the lid immediately since the water will spit. Give the pan a swirl. Allow to sit for 7 minutes.

  • Category: Breakfast
  • Method: Stovetop
  • Cuisine: Brunch

Keywords: Best Oatmeal, Vegan Oatmeal, Oatmeal Toppings

More vegan breakfast recipes

Looking for plant based ways to start the day? Here are a few more you might enjoy:

A Couple Cooks - Healthy, Whole Food, Vegetarian Recipes


from A Couple Cooks https://ift.tt/2NoWrlH

Apple Muffins with Streusel

Ready for the BEST healthy apple muffins? The streusel topping adds a sweet crunch to each bite, and use both applesauce and diced apple. To die for!

Apple muffins

Alex, Larson and I came home with a huge bag of apples the other day, after an afternoon of sipping apple cider slushies and frolicking in the local orchard. What to do with them? Once we’d made apple crumble and applesauce and apple pie, we paused for a breather. How about…apple muffins? Fortunately, these turned out incredible. The streusel topping adds a sweet crunch to each bite: and they’ve got a healthy spin too. Our son Larson literally gobbles these up! Here’s how to make them.

Apple muffins

Why to make these apple muffins? The streusel.

These apple muffins are really a riff on our healthy pumpkin muffins recipe. That recipe had the original streusel topping, a crunchy topping made of glittery turbinado sugar and a little butter and oats. The nice thing about a streusel topping is that it adds just the right sweetness to each bite, instead of having to add a load of sugar to the muffin batter itself. And there’s something about that crunch…well, you’ll have to try it for yourself!

The apple muffins spin uses cinnamon, ginger and allspice as the flavorings. It also features both applesauce in the batter, and chunks of diced apple throughout. The diced apple can be optional if you prefer, but it adds another nice texture. (In all honesty, our son Larson picked those out and ate the rest of the muffin: to each his own!)

Healthy apple muffins

Are these really healthy apple muffins?

To us, the term healthy apple muffins can be used here. While they’re certainly not health food because of the sugar, these muffins are still healthier than the standard muffin. If you prefer a healthy apple muffin that’s fully made of rolled oats, try our Apple Oatmeal Muffins. Here’s our criteria for these muffins:

  • Under 200 calories. Our main calorie goal for “healthy” was that each muffin should be under 200 calories.
  • Just sweet enough. These muffins have just enough sugar, a little more than our typical muffin but still less than the standard. They’re sweetened with maple syrup, which gives a gentler sweetness than refined sugar.
  • Nutrient-dense ingredients. The flour and sugar are balanced out with heart-healthy oats, applesauce and fresh apple.
Healthy apple muffins

How to store muffins

What’s the best way to store these apple muffins? The texture of the streusel can easily be lost depending on the storage method. Here’s our recommendation:

  • 1 day: Leave the muffins on a cooling rack and cover with a clean, dry dish towel. This helps the crunchy streusel topping to stay intact.
  • Up to 4 days: Place a paper towel in the bottom of a sealed container, then place the muffins in and place a paper towel on top. The paper towels absorb any moisture, which helps to retain the crunchy topping.
  • Longer than 4 days: Freeze these apple muffins in a sealable container and store up to 3 months.
Boy picking apples
Fun at the apple orchard! Our son Larson picked the apples for these muffins

More muffins

If you’re looking for more muffin recipes, we’ve got you covered! Here are some we’d recommend:

  • Healthy Banana Bread Muffins Our most popular recipes, these blender muffins are made with mainly oats and bananas, making them naturally gluten free. Everyone loves them!
  • Healthy Blueberry Muffins Here we’ve used our banana muffins trick and added blueberries! They add the perfect tangy zing.
  • Easy Zucchini Muffins These zucchini muffins are quick and easy, and have a crunchy turbinado sugar topping.
Apple muffins

This apple muffins recipe is…

Vegetarian. For a gluten free apple muffin, see Apple Oatmeal or Apple Zucchini Muffins. For vegan, we’re working on a version with coconut oil!

Print
Apple muffins

Apple Muffins with Streusel


1 Star2 Stars3 Stars4 Stars5 Stars (No Ratings Yet)

  • Author: Sonja Overhiser
  • Prep Time: 20 minutes
  • Cook Time: 30 minutes
  • Total Time: 50 minutes
  • Yield: 12

Description

Ready for the BEST healthy apple muffins? The streusel topping adds a sweet crunch to each bite, and use both applesauce and diced apple. To die for!


Ingredients

  • 1 1/2 cups plus 2 tablespoons all-purpose flour, divided
  • 3/4 cup rolled oats, divided
  • 1 tablespoon cinnamon, divided
  • 1 teaspoon ginger
  • 1 teaspoon allspice
  • 2 teaspoons baking powder
  • 1 teaspoon baking soda
  • 1/2 teaspoon kosher salt
  • 1/2 cup maple syrup
  • 1 1/4 cups applesauce
  • 1 cup diced apple (1 medium apple)
  • 1/4 cup unsalted butter, melted
  • 1 tablespoon vanilla extract
  • 1/4 cup turbinado sugar
  • 1/4 cup salted butter, cold and cut into small pieces

Instructions

  1. Preheat the oven to 350 degrees Fahrenheit. Add 12 muffin cups to a muffin tin.
  2. In a medium bowl, mix the 1 1/2 cups all-purpose flour, 1/2 cup rolled oats, and 2 teaspoons cinnamon with the ginger, allspice, baking powder, baking soda, and kosher salt.
  3. In another bowl, combine the maple syrup, applesauce, unsalted butter (melted), and vanilla.
  4. Mix the wet ingredients into the dry ingredients and stir until a smooth batter forms. Mix in the diced apple.
  5. In another medium bowl, add the remaining 1/4 cup rolled oats, 2 tablespoons flour, and 1 teaspoon cinnamon along with the turbinado sugar and salted butter (cut into small pieces). Cut the butter into the remaining ingredients using a pastry cutter or fork until it’s evenly combined and a crumbly streusel topping forms.
  6. Divide the batter evenly into the muffin cups. Then top with a thin layer of streusel.
  7. Bake for about 25 to 30 minutes, until a toothpick comes out clean (if your oven is uneven, reverse the pan halfway through). Allow to cool in the pan for 5 minutes, then remove the muffins and place them on a cooling rack to fully cool.

  • Category: Muffin
  • Method: Baked
  • Cuisine: American

Keywords: Apple Muffins, Healthy Apple Muffins

A Couple Cooks - Healthy, Whole Food, Vegetarian Recipes


from A Couple Cooks https://ift.tt/2JtEEc4

Easy Creamy Gnocchi Sauce

This creamy gnocchi sauce is done in minutes! Pecorino cheese, butter and pepper make the tastiest weeknight dinner: Italian comfort food at its finest.

Easy Creamy Gnocchi Sauce

Dinner in 15 minutes? Oh yes. Alex and I have a new trick we’ve been dying to share with you: our Creamy Gnocchi Sauce! It takes just minutes to make the sauce, and the gnocchi boil up in 3 minutes. The flavor? It tastes like the fanciest ever mac and cheese: but takes literally no effort at all. We modeled it after one of our favorite Italian recipes, Cacio e Pepe pasta (literally “cheese and pepper pasta” in Italian). Our version uses gnocchi pasta and it’s simply to die for. Alex and I curled up with bowls of this comfort food on the couch on a rainy evening and it was pretty much perfection!

Easy Gnocchi Sauce

Secrets to the fastest gnocchi sauce

So, back to that Cacio e Pepe. Alex and I had this famous simple pasta dish in Rome and fell in love. It’s a sauce made with Pecorino Romano cheese, a hard cheese that’s like Parmesan on steroids. It’s so savory and salty, you barely need to use salt with it! In traditional Cacio e Pepe, you’ll make the sauce with just Pecorino cheese, pepper, butter and pasta water. Then you’ll serve it over spaghetti.

For a twist on this classic concept, here we’ve used gnocchi instead: those doughy pasta balls that are a little like tiny dumplings. Let me tell you: this creamy Pecorino sauce is truly incredible with gnocchi! It’s amazing that 3 simple ingredients come together into this most flavorful, creamy sauce. Here are the secrets to the sauce:

  • Use Pecorino Romano cheese (a must!). You can’t get away with Parmesan here: Pecorino is essential for the flavor. You can find it at most grocery stores near the Parmesan.
  • Save that pasta water. Here, using the water the pasta was cooked in lends a creamy body to the sauce. Along with butter, it’s essential for making the right consistency, so don’t forget to save it out!
  • Use a healthy dose of black pepper. Using 1 teaspoon of ground black pepper might seem like a lot, but the sauce doesn’t come out too spicy: we promise! It brings in the final element of the flavoring.
Gnocchi Sauce

Serving this gnocchi with creamy sauce

All you need to do to serve this gnocchi sauce is garnish: we suggest a little more Pecorino Romano cheese. If you’d like to bring in a little color, you can add chopped fresh herbs like basil, thyme or oregano. But it’s really not needed at all (honestly, we just did it to make the photo look happier!).

Some nights all we want to eat is doughy balls of goodness in a creamy gnocchi sauce. But to make it a balanced meal (which, would probably be good too!), here a few side dishes we recommend pairing with it:

Creamy Gnocchi Sauce

Other fast & easy weeknight dinners

Alex and I love creating easy weeknight dinners for you, because let’s face it: it’s really hard to find them! And it’s hard to find “one size fits all” type of dinners: every person and family has different tastes, diets, and definitions of the word “easy”.

But we think this one is pretty darn fast and easy, if we might say so ourselves! Here are a few more of our favorite go-to easy weeknight dinners for when we’re in a rush:

This gnocchi sauce recipe is…

Vegetarian. For gluten free, use Gluten Free Gnocchi.

Print
Easy Creamy Gnocchi Sauce

Easy Creamy Gnocchi Sauce


1 Star2 Stars3 Stars4 Stars5 Stars (5 votes, average: 5.00 out of 5)

  • Author: Sonja Overhiser
  • Prep Time: 10 minutes
  • Cook Time: 5 minutes
  • Total Time: 15 minutes
  • Yield: 3 to 4

Description

This creamy gnocchi sauce is done in minutes! Pecorino cheese, butter, and pepper make the tastiest easy weeknight dinner: Italian comfort food at its finest.


Ingredients

  •  1 pound packaged gnocchi (for gluten-free, use gluten free gnocchi)
  • 4 tablespoons salted butter
  • 1 teaspoon ground black pepper
  • 1 cup grated Pecorino Romano cheese, plus more for garnish
  • Kosher salt

Instructions

  1. Bring a large saucepan of water to a boil, seasoned with about 1 tablespoon kosher salt.
  2. Once the water is boiling, add the gnocchi and boil until they float, about 2 to 3 minutes. Save out 1/2 cup of the pasta water, then drain the gnocchi and keep it in the strainer while you quickly make the sauce.
  3. Melt the butter with the pepper and heat it for 1 minute. Add 1/2 cup of the reserved pasta water and heat for 1 minute.
  4. Pour the butter mixture into gnocchi pan and add the Pecorino cheese. Stir for a minute until a creamy sauce forms. Add the gnocchi and serve warm, garnished with more Pecorino.

  • Category: Main Dish
  • Method: Stovetop
  • Cuisine: Pasta

Keywords: Gnocchi Sauce, Gnocchi, Fast Dinner, Fast Dinner Idea, Easy Weeknight Dinner

A Couple Cooks - Healthy, Whole Food, Vegetarian Recipes


from A Couple Cooks https://ift.tt/2plzZ4P

Ultimate Chocolate Cupcakes with Chocolate Cloud Frosting

If you’ve been searching for the ultimate chocolate cupcake recipe… look no further. These moist chocolate cupcakes are topped with the most divine chocolate frosting you’ve ever had!

Chocolate on chocolate on chocolate, what could be better? These cupcakes will be your new go-to: ultra moist and topped with a cloud-like chocolate buttercream. Don’t forget the chocolate sprinkles!

Ultimate Chocolate Cupcakes with Chocolate Fudge Frosting Recipe

I’ve gotten a number of questions and comments on my ultimate chocolate cake recipe about whether it’d work for cupcakes.

Normally cake recipes can be scaled down to cupcake-size pretty easily, and this recipe is no exception. Still, they turned out so fabulous that I figured they more than deserved their own post!

The recipe isn’t exactly halved, I tweaked a few proportions just to make a slightly thicker batter that’d be easier to scoop into cupcake papers (although the batter is still quite thin compared to a lot of recipes). It’ll still rise beautifully in the oven, with a gentle dome that’s perfect for frosting.

The only other change I made was to use hot coffee in place of the hot water (I often add a bit of espresso powder to chocolate cakes to intensify the richness of the chocolate flavor; the coffee here serves the same purpose). That said, you can certainly use water instead.

Cupcakes from above: Ultimate Chocolate Cupcakes with Chocolate Frosting

These cupcakes are nothing short of incredible, and I’ll reiterate that this frosting is absolutely divine.

I called it chocolate fudge frosting in the original recipe, but chocolate cloud frosting or chocolate silk frosting are probably more appropriate monikers (it’s so light and creamy it’s ridiculous!)

(more…)


from Love and Olive Oil https://ift.tt/2ontZbn

Apple Cider Slushie

Ready for the best fall drink? This apple cider slushie is so easy to make and looks stunning! With a hint of cinnamon and cloves, it’s perfectly cozy.

Apple cider slushie

No fall is complete without a trip to the apple orchard (in our minds, at least!). This year, after we picked our apples with friends, our son Larson and I got an apple cider slushie to share. Man, was it refreshing! The slushie was just sweet enough, the perfect beverage for a crisp fall day. Of course, my first thought was: I have to make this at home! Alex and I got to cooking, and came up with how to do it. Here’s that apple cider slushie: it’s got a pure cider flavor and a cozy hint of cinnamon and cloves. Best of all, it looks stunning for fall entertaining or leaf peeping! Here’s how to make it.

Apple cider slushie

How to an apple cider slushie: two methods

It couldn’t be easier to make a homemade apple cider slushie: don’t worry, you don’t need a slushie machine! There are two different methods for making it: the ice cream machine method, and the blender method. Here are the pros and cons of both.

Method 1: Ice cream maker

The ice cream maker method is the quickest method: it takes just 10 minutes to make a slushie! All you have to do is mix together the cider and spices and pour it in! It comes together with the perfect slushie texture. The down side is that you have to have an ice cream maker! Here’s the 2 quart ice cream maker Alex and I use: see the section below on why we think it’s worth your while to have one.

Method 2: Blender

The blender method takes a little longer, but you don’t need an ice cream maker! All you need is a blender, which we assume you probably have on hand. In this method, you’ll mix together the cider and spices and freeze them in ice cube trays. Then freeze them until they’re solid, about 3 to 4 hours depending on your freezer. When you’re ready to make the apple cider slushies, you’ll blend the ice cubes with a splash of cider to help it blend.

Apple cider slushie

Serving an apple cider slushie (and can you make it spiked?)

The best part about this apple cider slushie is the garnish, I think! Alex made up little apple slices for the garnish. And those red and white striped straws look just perfect, right? (His idea.) You can serve the slushie in any glasses: stemless wine glasses look particularly good.

Want to make a spiked apple cider slushie instead? We haven’t tried it, but looks like you could blend in about 1 cup bourbon into the mix to make a boozy slushie. Or, you can try it warm: we have a great recipe for Spiked Apple Cider.

And that’s all: how to make this perfect fall drink! Let us know if you try it in the comments below.

Apple cider slushie

What’s the best ice cream maker?

What’s the best ice cream maker? Alex and I use this 2 quart ice cream maker and love it: it’s high quality, durable, and works every time. We previously had an ice cream maker that didn’t get the ice cream cold enough and turned out melty, so that’s saying something!

An ice cream maker is a great holiday or birthday present to ask for, if you don’t want to splurge for it. Outside of an apple cider slushie, you can make ice cream like Salted Chocolate Vegan Ice Cream or our favorite, Jamoca Almond Fudge! Or our Lemon Gelato is a must try.

A few more fall drink recipes…

Looking for more fall drink recipes? Try our stunning Fall Sangria, Pumpkin Spiced Ice Coffee, or Mulled Wine.

This apple cider slushie recipe is…

Vegetarian, vegan, plant-based, dairy-free, and gluten-free.

Print
Apple cider slushie

Apple Cider Slushie


1 Star2 Stars3 Stars4 Stars5 Stars (No Ratings Yet)

  • Author: Sonja Overhiser
  • Prep Time: 1 minute
  • Cook Time: 9 minutes
  • Total Time: 10 minutes
  • Yield: 4

Description

Ready for the best fall drink? This apple cider slushie is so easy to make and looks stunning! With a hint of cinnamon and cloves, it’s perfectly cozy.


Ingredients

  • 4 cups apple cider
  • 1/2 teaspoon cinnamon
  • 1 pinch ground cloves
  • Apple slices, for garnish

Instructions

  1. Stir together all ingredients.
  2. Ice cream maker method: Churn in an ice cream maker for 8 to 10 minutes until it has a frozen texture.
  3. Blender method: Pour the mixture into ice cube trays and freeze 3 to 4 hours until solid. Then process in a high speed blender, with a splash of cider to help blend.
  4. Pour into 4 glasses. Garnish with an apple slice and serve immediately.

  • Category: Drink
  • Method: Frozen
  • Cuisine: Fall

Keywords: Apple Cider Slushie, Cider Slushie, Fall Drink

A Couple Cooks - Healthy, Whole Food, Vegetarian Recipes


from A Couple Cooks https://ift.tt/2Wj0EeL

Triple Lemon Layer Cake

Lemon lovers: this one’s for you! Layers of light and buttery lemon cake (the reverse-cream method produces a particularly cotton-soft textu...